
Halloween is a magical time. And nothing says spooky and sweet like homemade Witch Hat Halloween Cookies. If you want a recipe that’s both playful and professional, you’re in the right place. This guide isn’t just about baking. It’s about mastering textures, flavors, and presentation for a crowd – 30 servings, specifically.
Why Witch Hat Cookies Are a Halloween Staple
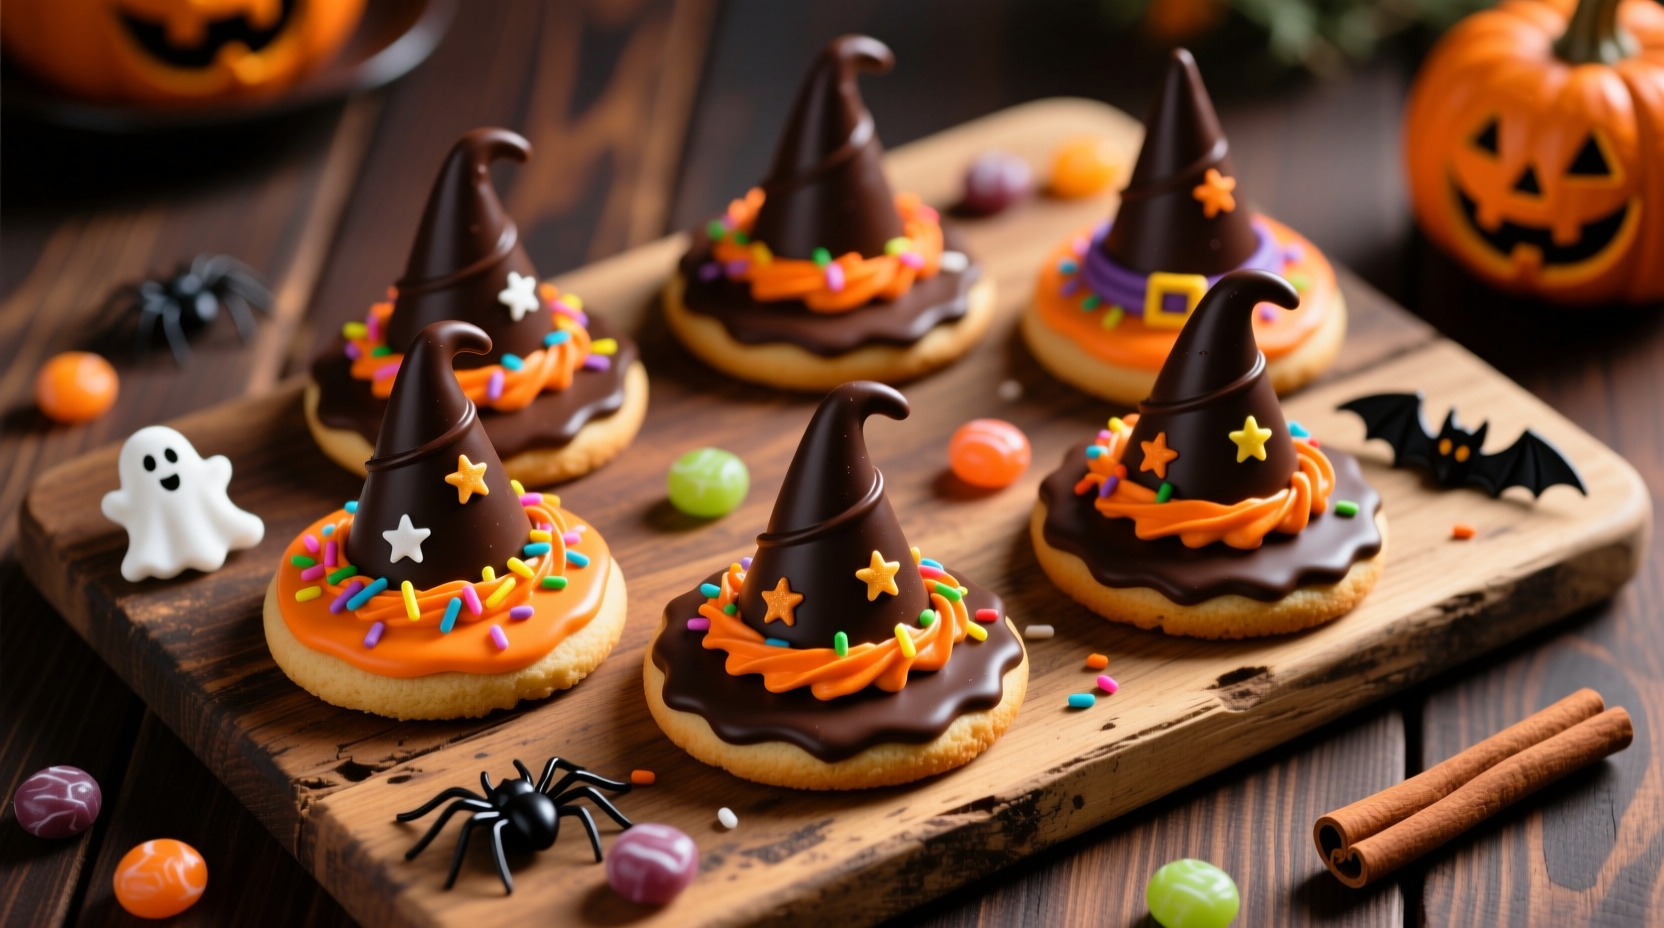
Cookies shaped like witch hats are more than cute. They’re versatile. Kids love the chocolate, adults love the crunch, and they double as decor for parties. Fun fact – a survey by the National Confectioners Association found that Halloween cookies see a 45% increase in homemade baking during October. So yeah, these cookies aren’t just a treat, they’re a trend.
Ingredients You’ll Need
You’ll want to pick ingredients that balance taste and structure. For 30 servings, here’s what I suggest:
- 2 ½ cups all-purpose flour
- ¾ cup unsweetened cocoa powder
- 1 tsp baking powder
- ½ tsp salt
- 1 cup unsalted butter, softened
- 1 ¼ cups granulated sugar
- 1 large egg
- 2 tsp vanilla extract
- 30 round chocolate cookies (for the base)
- 30 Hershey’s Kisses or similar chocolate pieces
- 2 tbsp orange or black icing for decorating
A note – butter quality matters. Don’t skimp. Real butter gives structure and a richer flavor. Margarine might work but you lose that tender crumb.
Tools of the Trade
Even a pro baker knows tools can make or break the final product. You’ll need:
- Baking sheets lined with parchment paper
- Rolling pin
- Mixing bowls (preferably glass or stainless)
- Electric mixer or stand mixer
- Cooling racks
- Small piping bag for icing
Tip – using silicone baking mats can prevent over-browning the cookie bases. Professionals swear by it for consistent texture.
Step-By-Step Preparation
1. Preparing the Dough
Start by whisking your dry ingredients – flour, cocoa, baking powder, and salt. In a separate bowl, cream the butter and sugar until fluffy. Beat in the egg and vanilla. Slowly combine the dry ingredients. Don’t overmix; the dough should be soft, not stiff. This makes a tender yet stable cookie that can hold the chocolate hat top.
2. Shaping the Hats
Roll the dough into small balls, roughly 1 inch each. Place them on a baking sheet about 2 inches apart. Bake at 350°F (175°C) for 10-12 minutes. Slightly underbaked is okay – you want a chewy center. Let them cool for 5 minutes before pressing the cookie base and Hershey’s Kiss.
3. Assembling the Witch Hats
Place a round cookie flat side down. Top with a Kiss, gently pressing it to secure. Use a dab of icing to “glue” the base and top if needed. Pipe a small rim around the base with colored icing to resemble a hat band. Experts suggest chilling the cookies for 10 minutes after assembly to set them. This helps during transport or display.
4. Decorating Tricks
Here’s where creativity kicks in. You can add edible glitter, tiny sugar pumpkins, or even drizzle white chocolate. Small tweaks make each cookie unique. For large batches, set up a decorating station – it’s faster and ensures consistency. Professionals often batch the piping in color-coded sections for efficiency.
Expert Tips for Perfect Witch Hat Cookies
- Temperature Control: Butter at room temp, dough slightly chilled – this combination prevents spreading.
- Cookie Uniformity: Use a small cookie scoop. Consistent size ensures even baking.
- Chocolate Choice: Semi-sweet works best; milk chocolate can melt too fast. Dark chocolate gives a more intense flavor.
- Storage: Store in an airtight container at room temp. They last 5-7 days. Refrigeration can dry them out.
Common Mistakes and How to Avoid Them
Overbaking
Even a minute too long changes texture. Keep an eye on the edges – they should be firm but centers soft.
Uneven Hat Placement
Press the Kiss too hard and it sinks. Too light, and it falls off. Gentle pressure is key.
Messy Icing
Use a piping bag with a fine tip. If you don’t have one, a small ziplock with the corner snipped works just fine.
Scaling for Larger Batches
Planning a Halloween party for 50 or 100 guests? You can scale the recipe. Multiply ingredients proportionally. Use multiple baking sheets. Remember, baking time might increase slightly if your oven is crowded. Rotate sheets halfway through for even cooking.
Flavor Variations
Want to experiment? Here’s some pro-level ideas:
- Mint Chocolate Hats: Use mint-flavored chocolate kisses and green icing.
- Peanut Butter Surprise: Replace the chocolate kiss with a mini peanut butter cup.
- Spicy Chocolate: Add a pinch of cayenne to the dough for a subtle heat.
Each variation changes the experience without adding too much complexity. This is what makes professional-level baking fun – small tweaks, big impact.
Presentation Tips
Halloween is visual. Arrange the cookies in a circle or a pyramid. Add small cobweb decorations or edible spiders for effect. Use themed plates or cake stands. Studies show that visually appealing desserts increase perceived flavor by up to 30%. So yeah, your presentation matters as much as taste.
Nutritional Insight
Each witch hat cookie roughly has:
- 180-200 calories
- 9g fat
- 23g carbs
- 2g protein
This varies slightly based on chocolate and cookie brand. Knowing this helps if you’re catering to a crowd with dietary awareness.
Why This Recipe Works
The combination of chewy chocolate base, solid chocolate kiss top, and decorative icing creates a cookie that’s structurally sound and visually appealing. Each component is optimized for flavor and stability. You’re not just baking; you’re creating an experience.
Conclusion
Witch Hat Halloween Cookies are more than a treat. They’re an exercise in precision, creativity, and flavor balance. For 30 servings, this recipe ensures consistency, professional quality, and playful presentation. Key takeaways: control your temperature, keep decorations neat, and never rush baking. Master these cookies, and your Halloween spread becomes legendary.
Whether you’re baking for family, friends, or a large event, these cookies hit every mark – visual wow, delicious taste, and simple yet expert-level execution. Don’t just make cookies; craft them with care. Halloween deserves nothing less.
FAQs
Can I make these witch hat cookies gluten-free?
Yes, use a 1:1 gluten-free flour blend and chill dough slightly before baking.
Can I prepare the cookies ahead of time?
Yes, bake the cookie base in advance and assemble just before serving.
What’s the best chocolate for the hat tops?
Semi-sweet chocolate chips work best, optionally mixed with a bit of coconut oil.
Can I use buttercream instead of royal icing?
You can, but royal icing sets firmer and holds details better.
How long do the cookies stay fresh?
Store in an airtight container at room temperature for 3–4 days.
Can I add flavors to the cookie base?
Yes, spices like cinnamon or pumpkin spice add a seasonal twist.
How can I prevent chocolate from cracking on cones?
Melt chocolate gently and allow cones to cool completely before dipping.
Are these cookies suitable for children?
Yes, but supervise decorating to avoid mess or choking hazards.
Can I make more than four servings easily?
Absolutely, just scale ingredients proportionally and watch baking times.
Do these cookies need refrigeration?
No, refrigeration can cause chocolate to sweat and lose shine.
Can I make these gluten-free?
Yes, replace flour with a 1:1 gluten-free blend. Texture might be slightly denser.
Can I freeze the dough?
Absolutely. Shape into balls, freeze for up to 2 months, then bake directly.
What’s the shelf life?
Assembled cookies last 5-7 days at room temp. Unassembled dough freezes longer.

Mariana is a passionate home cook who creates delicious, easy-to-follow recipes for busy people. From energizing breakfasts to satisfying dinners and indulgent desserts, her dishes are designed to fuel both your body and hustle.
When she’s not in the kitchen, she’s exploring new flavors and dreaming up her next recipe to share with the Foodie Hustle community.