
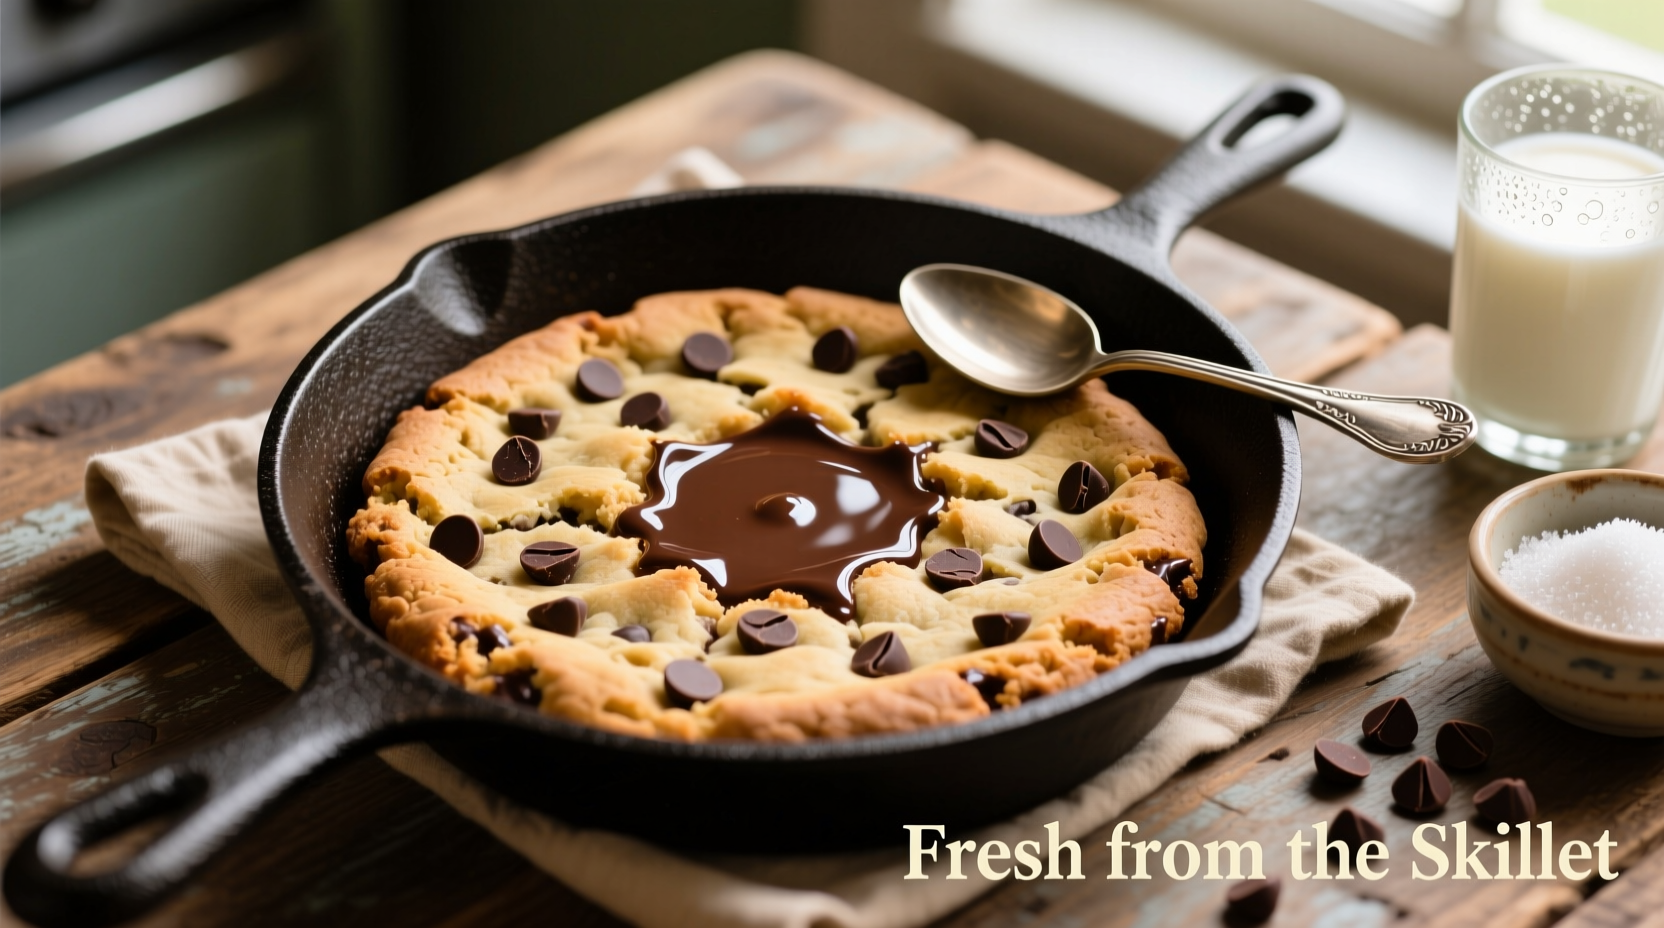
There’s something primal about baking in cast iron. The way it holds heat like a stubborn old soul. The way it browns butter just right. Now, imagine that — but for a cookie. A cookie that’s thick, golden, and slightly molten in the center. Yes, we’re talking about the legendary Cast Iron Skillet Cookie Recipe for 12 servings.
Let’s be honest, this dessert is the sweet spot between rustic comfort and professional-level precision. It’s got that campfire nostalgia baked right in, but it’s also a science of heat retention, timing, and ingredient ratios. If you think skillet cookies are just oversized cookies, you’re missing the quiet genius behind them.
Why Cast Iron Makes All the Difference
A cast iron skillet isn’t just a pan. It’s an environment. Its heavy body distributes heat evenly and keeps it consistent. This is the secret to those deep caramelized edges and soft, buttery centers that most bakers chase but rarely catch.
According to America’s Test Kitchen, cast iron can retain heat up to 20% longer than aluminum or stainless steel. That slow, even heat means the sugars in the dough have more time to caramelize, forming that delicate crust we all crave.
But here’s where it gets tricky — cast iron doesn’t cool fast. So, if you pull your skillet cookie out right when it looks done, it’ll keep cooking for several minutes more. That’s why pros remove it just before perfection. A cookie in cast iron finishes itself off while you let it rest.

Ingredients Matter More Than You Think
People often say, “It’s just a cookie recipe, what’s the big deal?” But for professionals, every gram counts. Precision in baking is not just a rule — it’s survival.
Here’s the lineup for a 12-serving skillet cookie that balances sweetness, texture, and flavor depth:
- 1 cup (2 sticks) unsalted butter
- 1 cup packed brown sugar (light or dark — dark gives richer molasses tones)
- ½ cup granulated sugar
- 2 large eggs
- 2 teaspoons pure vanilla extract
- 2 ½ cups all-purpose flour
- 1 teaspoon baking soda
- ½ teaspoon salt
- 1 ½ cups semi-sweet chocolate chunks (not chips — chunks melt slower and create chocolate pockets)
- Optional: A sprinkle of flaky sea salt for finish
That’s the base, but what makes it exceptional isn’t the ingredients — it’s how you handle them.
Technique: The Subtle Art of Mixing
Butter temperature is where many go wrong. It shouldn’t be too soft. You want it at what chefs call “pliable cool.” Press your finger in and it should yield gently, not collapse. Melted butter gives a denser, chewier texture; creamed butter gives lift and air.
For this recipe, we want a little of both. Half melt the butter — that’s right, half. Melt one stick, leave the other softened. Mix them together with sugars until they form a toffee-like paste. This trick builds flavor depth while maintaining a rich, gooey structure.
When you add eggs, whisk them one at a time. Overbeating introduces too much air, which will cause the cookie to puff and collapse unevenly.
And please, for the love of all things chewy, don’t overmix once the flour goes in. Overdeveloped gluten turns your cookie from dreamy to tough in a blink.
The Skillet: Preparation Is Everything
If your cast iron is seasoned properly, you’re halfway there. A light coat of neutral oil (canola or grapeseed works fine) prevents sticking and enhances that crisp edge. Never use butter to grease it — butter burns.
Preheat the skillet in the oven for about 5 minutes before adding the dough. This move isn’t optional; it’s essential. That quick sear on the bottom gives your cookie a crust that’s almost candy-like.
Once preheated, spoon in your dough, pressing it evenly with a spatula or your hand. Leave a little room around the edges — it’ll spread just enough. Sprinkle a few chocolate chunks on top for aesthetics (because let’s face it, presentation counts even for cookies).
Baking Like a Pro
Bake at 350°F (175°C) for 22–26 minutes. Timing depends on your skillet’s size and material. A 10-inch cast iron skillet works best for this recipe, yielding 12 generous slices.
The edges should look set, and the center should still wobble slightly when you jiggle the pan. That’s your visual cue. Don’t wait for perfection — pull it a minute early. Let it rest for 10 minutes; that’s when it truly finishes baking.
If you like a more molten center (think cookie meets lava cake), shave 2 minutes off the bake time. If you want a firmer, sliceable texture, go the full 26.
The Science of Texture
Why does this cookie feel so different from regular ones? It’s the balance of heat conduction and sugar crystallization.
In standard baking sheets, cookies spread fast because of thin metal and quick heat transfer. But in cast iron, the dough sits in a slow sauna. The sugars melt gradually, giving them time to caramelize. This process builds what pastry chefs call “Maillard complexity” — the savory undertone beneath sweetness that gives baked goods character.
A study by Food Chemistry Journal notes that Maillard reactions increase exponentially in retained-heat environments. Translation: cast iron literally flavors your cookie more deeply than aluminum ever could.
Serving Like an Expert
Serve it warm, never hot. Hot cookies break apart too easily and lose structural integrity. Warm ones, though? They ooze chocolate at the edges and hold shape just enough for a clean slice.
Top with vanilla bean ice cream — not regular vanilla. Vanilla bean has those tiny black flecks of real pod flavor that cut through the cookie’s richness beautifully. A drizzle of browned butter caramel or sea salt fudge sauce turns this into something restaurants would charge $12 a slice for.
If serving for a crowd, slice into wedges like pie. But if you’re serving family-style (the only true way), drop a scoop of ice cream right in the middle and hand out spoons. Let everyone dig in.

Flavor Variations for the Adventurous
Because professionals rarely stop at “classic.”
- Salted Caramel Pretzel – Fold in crushed pretzels and drizzle caramel over the top. The salty crunch transforms every bite.
- Espresso Dark Chocolate – Add 1 tablespoon espresso powder to the dough for a bold, coffee-kissed flavor.
- Peanut Butter Swirl – Drop spoonfuls of peanut butter on the dough before baking, swirl lightly with a knife.
- S’mores Edition – Mix in graham cracker pieces and mini marshmallows for a fireside twist.
- Brown Butter & Toffee Bits – Brown all the butter before mixing; the nutty aroma pairs perfectly with toffee chunks.
Common Mistakes (and How to Avoid Them)
- Mistake #1: Overbaking. The biggest crime against skillet cookies. Pull early, trust the carryover heat.
- Mistake #2: Using chocolate chips. Chips are designed to not melt. Use chopped bars or baking chunks.
- Mistake #3: Cold skillet. Always preheat. Otherwise, you’ll get pale bottoms and uneven texture.
- Mistake #4: Skipping the rest time. Letting it sit allows starches to set and sugars to stabilize.
- Mistake #5: Serving too soon. I get it, you’re impatient. But molten sugar burns fast — give it 10 minutes.
Expert Insight: Why This Recipe Works
Professional bakers love cast iron because it mimics brick-oven conditions in miniature. You’re creating a micro-environment where moisture retention and heat diffusion play together perfectly.
Unlike aluminum pans that reflect heat, cast iron absorbs and radiates it from every angle. The bottom cooks by direct contact, while the top bakes by radiant heat. The result? A dual-textured dessert that’s crisp on the edge and molten in the middle — a feat nearly impossible in traditional sheet baking.
Some pastry chefs even chill their skillet dough overnight before baking. The rest allows flour hydration and fat solidification, resulting in deeper flavor and better structure. It’s the same principle behind aging cookie dough, popularized by The New York Times’ famous recipe.
How to Store and Reheat Properly
Skillet cookies reheat beautifully — if you do it right.
Cover leftovers with foil and store at room temp for up to 2 days. To reheat, place the skillet in a 300°F oven for 8–10 minutes. Never microwave — it ruins texture faster than you can blink.
For longer storage, cut slices and wrap them tightly in plastic, then foil. Freeze for up to a month. To revive, reheat frozen wedges in the oven until warm and fragrant again.
Pro Tip: Season Your Skillet with Dessert in Mind
Yes, seasoning matters for sweets too. After washing and drying your skillet, apply a thin coat of neutral oil and bake it empty for 1 hour at 400°F. This ensures your pan remains naturally non-stick, which is crucial for sugary batters that can cling and burn.
And no, your cookie won’t taste like last night’s steak — as long as your seasoning is clean and neutral.
Final Thoughts: The Beauty of Simple Mastery
A cast iron skillet cookie may look humble, but it’s a dessert that rewards precision, patience, and passion. It’s not about fancy ingredients or culinary fireworks. It’s about understanding how heat moves, how butter behaves, and how sugar transforms under pressure.
Whether you serve it at a dinner party or eat it straight from the pan with a spoon (which, let’s be real, we all do), this dish proves that comfort food can be crafted with professional finesse.
In the end, the perfect skillet cookie isn’t about the recipe alone. It’s about restraint — knowing when to stop mixing, when to pull it from the oven, and when to simply enjoy the still-warm center before the ice cream melts into golden rivers.
Now go preheat that cast iron. It’s cookie time.
FAQs
What size cast iron skillet should I use for this cookie recipe?
A 10-inch cast iron skillet works best for a 12-serving cookie with perfect thickness and texture.
Can I use a nonstick pan instead of cast iron?
You can, but you’ll lose that signature crispy edge and deep caramelized flavor cast iron gives.
How do I keep the cookie from sticking to the skillet?
Lightly oil your skillet with neutral oil before adding dough—never use butter, it burns.
Can I make the dough ahead of time?
Yes, chilling the dough overnight actually improves flavor and texture.
How long should I bake the skillet cookie?
Bake for 22–26 minutes at 350°F, pulling it out when the center still looks slightly soft.
How do I know when the skillet cookie is done?
The edges should be golden and firm, but the center should still wobble a little.
Can I add nuts or other mix-ins to the recipe?
Absolutely, fold in chopped nuts, pretzels, or even caramel bits for extra crunch.
How should I serve the skillet cookie?
Serve warm with vanilla bean ice cream or slice into wedges once slightly cooled.
How do I store leftovers?
Cover with foil and store at room temperature for up to two days.
Can I reheat the cookie without drying it out?
Yes, warm it in the oven at 300°F for 8–10 minutes instead of using a microwave.
Is this recipe easy to scale up or down?
Yes, just adjust ingredient ratios and use larger or smaller skillets accordingly.
Why use chocolate chunks instead of chips?
Chunks melt unevenly, creating rich, gooey pockets of chocolate throughout the cookie.
Can I freeze the baked cookie?
Yes, slice and wrap tightly before freezing; reheat in the oven for best texture.
What makes cast iron better for baking cookies?
It retains heat longer, caramelizes sugars better, and gives that irresistible crisp edge.
Do I need to season my skillet before baking?
Yes, a well-seasoned skillet ensures the cookie releases easily and doesn’t stick.

Mariana is a passionate home cook who creates delicious, easy-to-follow recipes for busy people. From energizing breakfasts to satisfying dinners and indulgent desserts, her dishes are designed to fuel both your body and hustle.
When she’s not in the kitchen, she’s exploring new flavors and dreaming up her next recipe to share with the Foodie Hustle community.