
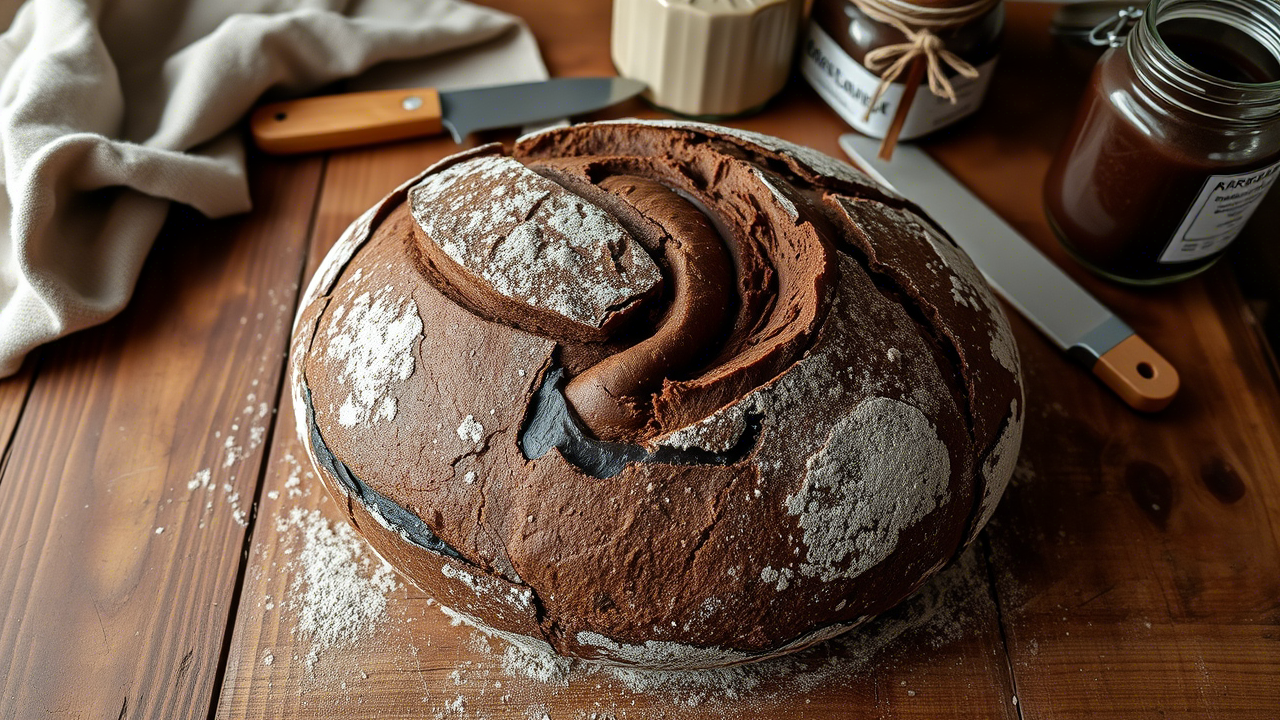
Chocolate in bread? It’s not some gimmicky dessert trick. We’re talking about rich, tangy, deeply aromatic chocolate sourdough bread—real bread with a serious culinary attitude. If you’re used to sourdough being all about crusty farmhouse loaves and morning toasts, this’ll throw your kitchen compass off in the best way possible.
The purpose of this article is simple: to take you, the professional or aspiring pro baker, through the real ins and outs of making chocolate sourdough bread that sings with complexity. We’ll look at fermentation timelines, cocoa chemistry, baker’s math, hydration challenges, crumb behavior, and even cocoa-fat-gluten interactions. Sound like a mouthful? Good—it should be.
Why Chocolate and Sourdough Work (But Only If You Do It Right)
Chocolate and sourdough aren’t natural bedfellows. One’s acidic and wild; the other’s smooth and fatty. But together, they unlock something spectacular. Cocoa powder brings bitterness, earthiness, and depth, while sourdough offers lactic tang and organic complexity. Add dark chocolate chunks or chips, and now you’ve got an interior that melts like velvet under heat.
What makes this pairing hard, though, is the way cocoa changes hydration levels. It acts like a flour but isn’t flour. Absorbs water, yes, but doesn’t build structure. You need to re-balance your formula, or the dough’ll turn sluggish and break like overcooked noodles. I’ve seen it happen, even in pro kitchens.
The Formula That Works: A Starting Point for Precision
Let’s break this down baker’s math style (all % based on total flour):
- Bread Flour: 85%
- Whole Wheat Flour: 15%
- Unsweetened Cocoa Powder (Dutch-processed or natural): 7%
- Water: 78–82%
- Salt: 2%
- Levain (100% hydration): 20%
- Dark Chocolate Chunks: 15–20% (add during lamination or fold)
Keep in mind: cocoa adds dryness but not protein. You might feel tempted to add more flour to stiffen the dough—don’t. Hydrate properly instead. And use quality cocoa. Industrial cocoa with alkali burns sourdough like acid burns paper.
I once used supermarket-grade cocoa during a workshop in Madrid—smelled like rubber. The entire batch tasted like regret.
Timing Is Everything: Bulk, Proof, and Flavor
The real soul of chocolate sourdough lives in time. If you cut it short, you lose complexity. If you overdo it, bitterness will bully the loaf.
Here’s a solid fermentation plan:
- Levain Build (8–10 hours): Start with a mature sourdough starter. Feed in a 1:2:2 ratio (starter:flour:water) for stable rise.
- Autolyse (45–60 minutes): Mix flour, cocoa, and water only. Let enzymes begin breaking down starches before salt and levain touch it.
- Mixing: Add levain and salt after autolyse. Do this gently by hand or with a spiral mixer on low for 3–4 minutes.
- Bulk Fermentation (4–6 hours @ 76–78°F): Perform 3–4 stretch and folds. Add chocolate chunks after the first fold, or during lamination for better dispersion.
- Cold Proof (12–18 hours): Retard in fridge at 39°F. Cocoa flavor deepens, lactic tang mellows, and the crumb opens up beautifully.
I once extended the cold proof to 24 hours just to test. Flavor? Stunning. Texture? A little gummy near the chocolate pockets. Lesson? Balance time with inclusion density.

Baking & Kitchen Essentials
Handy utensils and tools every home baker should have. Click below to shop on Amazon.
NutriChef 3-Piece Nonstick Baking Pans
Durable and versatile pan, perfect for cakes, casseroles, and more.
View on Amazon
Muffin & Cupcake Pan
Classic 12-cup pan for cupcakes, muffins, and mini quiches.
View on Amazon
Umite Chef Mixing Bowls Set
Lightweight nesting bowls with lids, great for prep and storage.
View on Amazon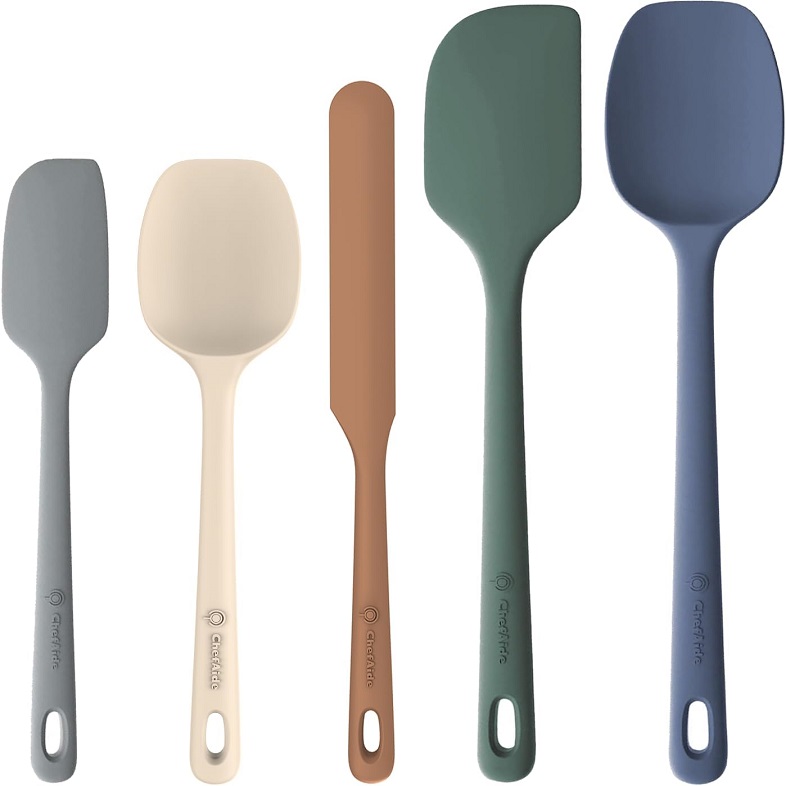
5 Pieces Silicone Spatula Set
Heat-resistant spatulas for stirring, folding, and scraping.
View on Amazon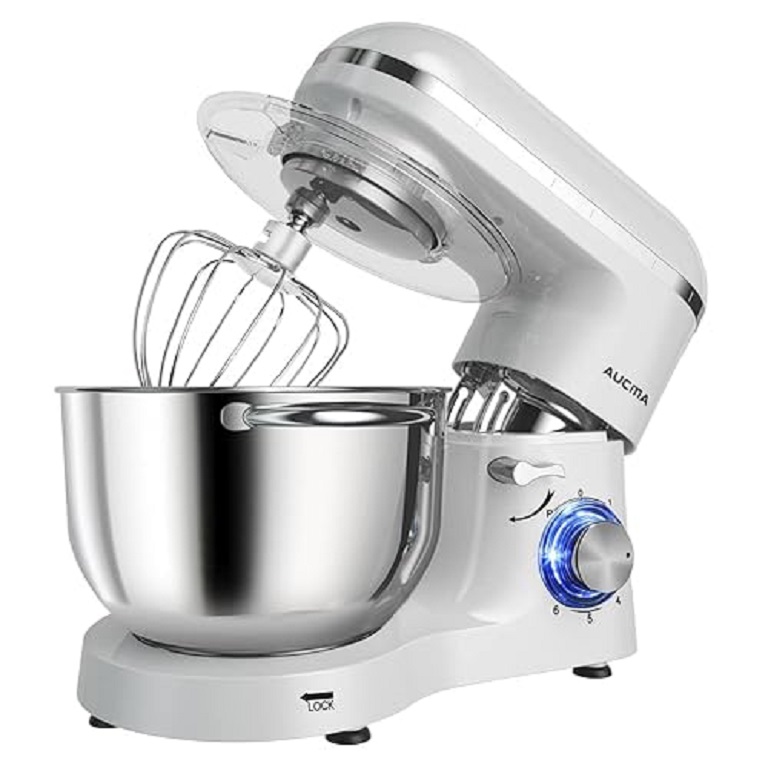
Aucma Stand Mixer,6.5-QT 660W 6-Speed
Powerful mixer with multiple attachments for doughs, batters, and frosting. A must-have for serious bakers.
View on Amazon
Emeril Lagasse Countertop Convection Oven
Compact oven with convection & air fryer settings. Perfect for cakes, cookies, and quick bakes without heating the kitchen.
View on AmazonDisclosure: As an Amazon Associate, I earn from qualifying purchases.
On Hydration and Gluten: Cocoa Throws a Wrench
Cocoa absorbs water like a sponge, but it don’t behave like flour. This means you must adjust your hydration. What used to work for your country boule at 75% will fall flat here. Shoot for 80% and use high-gluten bread flour to maintain structure.
If you’re working in a humid climate—say Houston in July—watch for dough softening faster than usual. Adjust down 2–3% hydration or use a fridge rest between mix and fold to firm things up.
Some bakers add oil to improve crumb softness, but honestly? That’s cheating a bit. A well-developed dough with balanced fermentation doesn’t need that shortcut.
Choosing Chocolate: Chips vs. Chunks vs. Shards
Not all chocolate plays nice with heat. Go for 60–75% dark chocolate—no waxy compound chips, please. Chunks melt better and don’t seize during baking. If you can get your hands on couverture discs or chop your own from a high-quality bar (like Valrhona or Guittard), even better.
Avoid milk chocolate. It’s too sweet, too soft, and messes with the loaf’s overall flavor balance. Plus, it burns fast in high-temp ovens.
Had a student once toss in white chocolate and dried cherries. Called it “cheesecake bread.” Bold move. Didn’t proof it long enough, though. Dough collapsed like a soggy hat. Point being—balance matters.
Baking: High Heat, Low Panic
Bake your chocolate sourdough like a traditional boule or bâtard.
- Preheat to 500°F (260°C): Use a Dutch oven or baking stone.
- Score Deep: The chocolate makes the crumb denser; give steam and heat a chance to lift it.
- Initial Steam Bake (20 minutes): Covered, to trap steam.
- Uncovered Bake (20–25 minutes): Drop temp to 450°F. Look for a dark, almost black crust—but not burnt.
You’ll smell chocolate and roasted flour. Don’t mistake that for burning. It’s a wild, primal scent that fills the kitchen like a wood-fired brownie. If crust forms too fast, lower the temp. Every oven’s got its own little quirks.
Crumb Expectations: Don’t Expect Airy Wonder
This ain’t ciabatta. Chocolate sourdough has a tighter crumb because of the cocoa, fat, and inclusions. That’s not a flaw—it’s the point. Expect a chewy, moist interior with melted chocolate rivulets running through the grain like lava flows.
If your loaf turns out gummy, you either:
- Underbaked it.
- Didn’t let it cool long enough.
- Used too much water and didn’t develop enough gluten.
Let it cool completely. I know it’s tempting to cut into it warm, but patience, friend. That steam needs to redistribute. Cut it hot, and it’ll be like slicing warm fudge.
Flavor Pairings and Uses: It’s Not Just for Breakfast
You can serve chocolate sourdough with sweet stuff, sure—fruit jams, mascarpone, even a dusting of cinnamon sugar.
But here’s where it gets interesting:
- Serve it with cheese—triple cream brie or salty feta. Sweet and salty contrast, with the sourdough’s natural acidity cutting through.
- Toast it and top with chili-infused honey—mind blown.
- Use it for a sandwich—yep. Prosciutto and fig spread on chocolate bread is chef’s kiss magic.
A few restaurants in Copenhagen are even plating it alongside foie gras. If you’ve never had foie with bitter cocoa notes underneath, you’re missing out on something revelatory.

Common Misconceptions
“Chocolate sourdough is just dessert bread.”
Wrong. It’s savory-sweet, deeply complex, and absolutely fits on a cheese board or fine-dining plate.
“It’s too complicated for a bakery menu.”
Not if you plan it right. Use your same levain. Mix your dough alongside your regular sourdough schedule. Just keep your inclusions and final proofing times mapped tightly.
“Customers won’t buy it.”
They will—especially if you sample it warm with espresso or red wine. Market it right: “Artisan Cocoa Fermented Loaf” sounds luxe. People eat that stuff up, literally.
A Few Pro Tips from the Trenches
- Use a flour-dusted banneton to avoid chocolate smearing your linen.
- Wipe down your bench knife often when folding. Chocolate gets sticky.
- Use a fine-mesh sieve for cocoa during scaling. Clumps mess with mixing.
- Don’t refrigerate leftovers—kills the texture. Freeze slices if needed.
Final Thoughts and Actionable Recommendations
Chocolate sourdough isn’t about novelty. It’s about depth, skill, and balance. It forces you to think about dough behavior differently, challenge your assumptions, and play with flavor on a more artistic level.
If you’re a professional baker—test it in a controlled batch. Log the results. Adjust hydration based on humidity and cocoa brand. Offer it one day a week, warmed and sliced. Track sales and feedback.
If you’re a passionate home baker, keep your levain strong, and don’t rush it. Chocolate sourdough rewards patience, precision, and curiosity.
And remember: It’s not a brownie, it’s bread with edge. Let it be bold.
FAQs
What type of cocoa powder is best for chocolate sourdough bread?
Use high-quality Dutch-processed or natural cocoa powder—never sweetened or low-grade supermarket versions.
Can I use milk chocolate instead of dark chocolate in the dough?
No, milk chocolate is too sweet and soft, and it burns too quickly during baking.
Why is my chocolate sourdough bread gummy inside?
It’s likely underbaked, cut too soon, or the dough was overhydrated without enough gluten development.
Should I adjust hydration when adding cocoa?
Yes, cocoa absorbs water without adding structure, so aim for 80–82% hydration to maintain dough strength.
Can chocolate sourdough be used for savory dishes?
Absolutely—it pairs well with cheese, cured meats, and even chili honey.
Do I need to cold-proof the dough overnight?
Yes, a cold proof deepens the chocolate and sour flavors while improving texture.
What’s the best way to add chocolate chunks to the dough?
Fold them in during lamination or the first set of stretch-and-folds for even distribution.
Why does the crumb turn out denser than regular sourdough?
The cocoa and chocolate inclusions reduce open crumb, which is normal and expected.
Can I add other ingredients like nuts or dried fruits?
Yes, just be sure to balance hydration and proofing to prevent collapse.
How long should I let the loaf cool before slicing?
Let it cool completely—at least 2 hours—to avoid a gummy or sticky crumb.

Mariana is a passionate home cook who creates delicious, easy-to-follow recipes for busy people. From energizing breakfasts to satisfying dinners and indulgent desserts, her dishes are designed to fuel both your body and hustle.
When she’s not in the kitchen, she’s exploring new flavors and dreaming up her next recipe to share with the Foodie Hustle community.