
If you’ve been scrolling through Instagram or peeping into artisanal bakeries, you’ve probably seen the magical hybrid pastry called the cruffin. But what exactly is a cruffin, and why has it enchanted pastry lovers worldwide? A cruffin is the love child of a croissant and a muffin—flaky, buttery layers rolled into a shape that’s portable and indulgent. Today, we’re diving deep into crafting 12 servings of cruffins that will rival any bakery in Paris or San Francisco. This isn’t just a recipe; it’s a culinary journey.
Understanding the Cruffin: Origins and Appeal
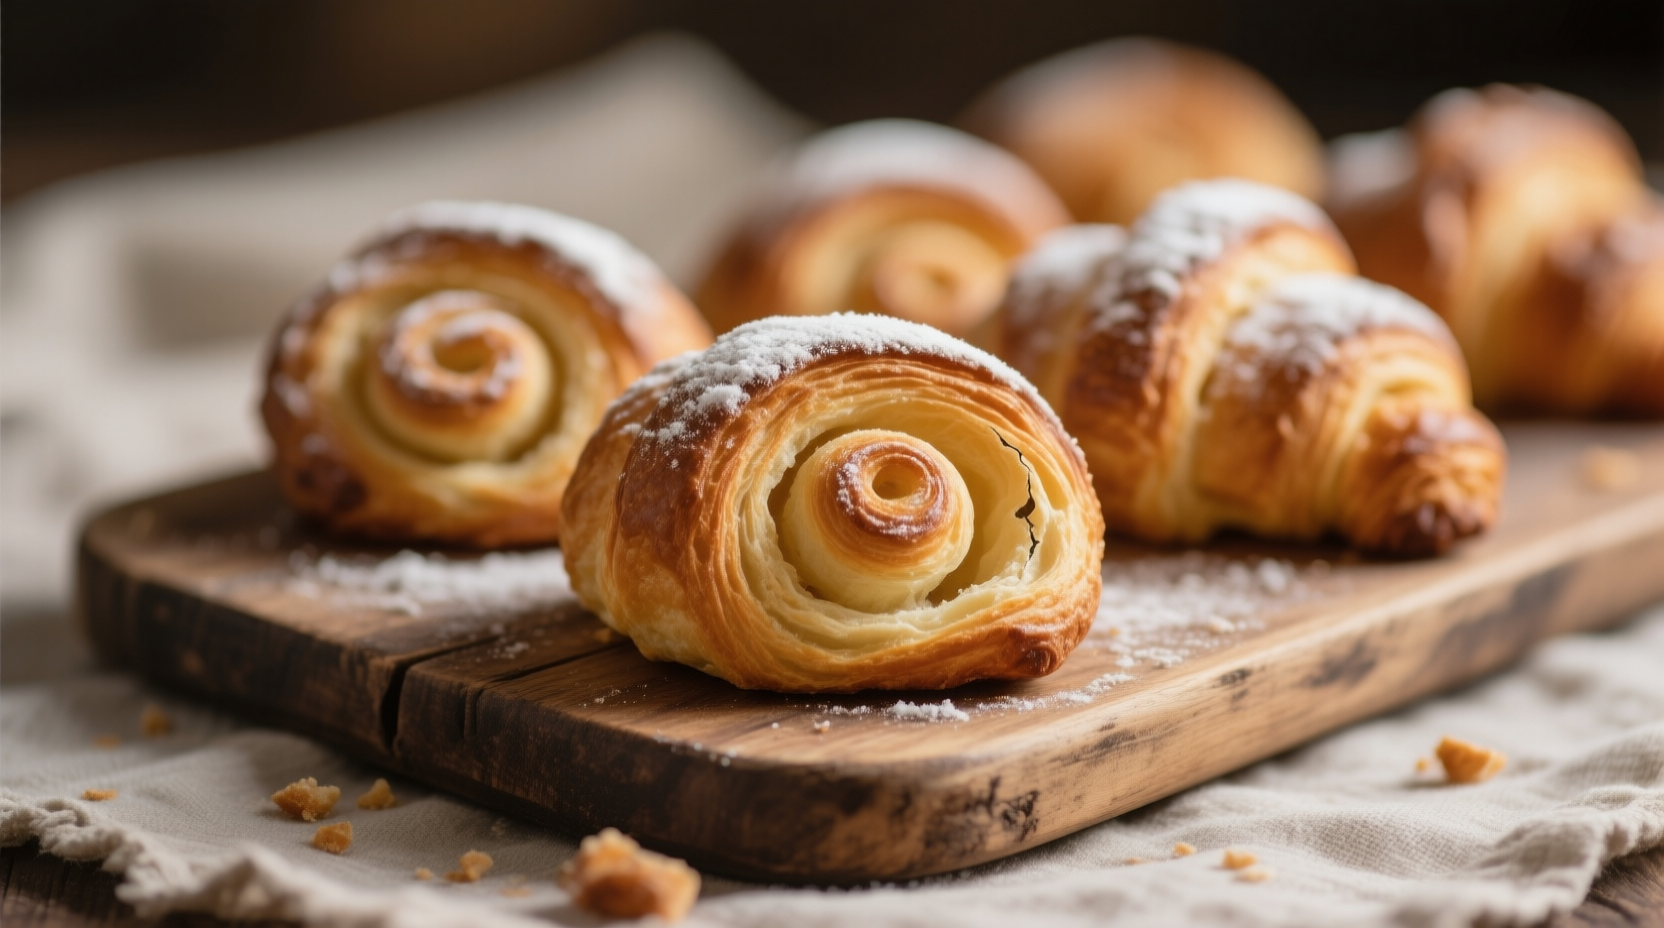
The cruffin originated in Melbourne, Australia, thanks to pastry chef Kate Reid, and quickly exploded into cafes around the world. Its charm lies in its texture—a croissant’s delicate, airy layers meet the uniform rise and shape of a muffin. The beauty? You get all the buttery, laminated layers without wrestling with overly complicated shaping techniques. Professionals love cruffins because they offer a high-end pastry experience with a slightly easier assembly than classic croissants.
When we talk numbers, a well-laminated cruffin can have up to 27 visible layers once baked. Achieving this is all about temperature control, precise rolling, and careful folding of the butter and dough. Yes, it’s a bit labor-intensive, but the payoff? Unreal.
Ingredients You’ll Need
To make 12 servings, precision is key. Use the highest quality ingredients you can source—this isn’t the place to skimp on butter or flour.
- All-purpose flour: 500 grams
- Unsalted butter (cold): 250 grams
- Granulated sugar: 50 grams
- Salt: 10 grams
- Milk (whole, slightly warmed): 200 ml
- Active dry yeast: 10 grams
- Eggs: 2 large
- Vanilla extract: 5 ml
Optional fillings and toppings: chocolate ganache, fruit preserves, or a dusting of powdered sugar. Many bakers like to brush the cruffins with a sugar glaze while warm for that bakery sparkle.
Pro tip: Temperatures matter. Your butter should be cold but pliable; milk shouldn’t be hotter than 40°C, or you risk killing the yeast. Small details make a massive difference here.

Step 1: Preparing the Dough
Start by activating the yeast. Combine warm milk, a teaspoon of sugar, and yeast in a small bowl. Let it bloom for 5–10 minutes until frothy. This is where a lot of beginners stumble—they add milk that’s too hot or skip proofing, and suddenly your dough won’t rise properly.
Meanwhile, in a larger bowl, mix flour, remaining sugar, and salt. Add eggs and vanilla, then slowly incorporate the bloomed yeast mixture. Knead for 8–10 minutes until the dough is smooth and elastic. It should feel slightly tacky but not sticky. If your dough tears when stretched, it needs more kneading.
Once kneaded, shape the dough into a ball, cover with a damp cloth, and let it rest for 30 minutes at room temperature. This initial rest relaxes gluten, making it easier to roll out for lamination.
Step 2: Laminating the Dough
Here’s where the cruffin magic happens. Lamination is layering butter and dough, folding it to create the flaky layers. Start by flattening the cold butter into a rectangle roughly 1/2 inch thick. Roll your rested dough into a rectangle twice the size of the butter slab.
Place butter on the dough, fold over, and seal edges. Roll out to 20×60 cm, then fold in thirds—a “single turn.” Chill for 30 minutes. Repeat this process two more times. Each fold creates more delicate, buttery layers. Temperature is crucial: too warm, and butter melts; too cold, and dough cracks. Professionals often rotate between fridge and counter for ideal consistency.
Some chefs like to sprinkle a tiny pinch of sugar between folds—it caramelizes slightly in the oven, enhancing texture and flavor. Small tricks, big impact.
Step 3: Shaping the Cruffins
After the final chill, roll dough into a thin rectangle about 5mm thick. Using a sharp knife, cut strips roughly 5 cm wide. Roll each strip tightly from one end to the other—like a cinnamon roll. Place in greased muffin tins.
Allow cruffins to proof for 45–60 minutes. They should roughly double in size. If your kitchen is cold, a warm oven (turned off) with a tray of hot water works beautifully. Proofing ensures that airy, tender crumb we all crave.
Step 4: Baking to Perfection
Preheat your oven to 200°C (400°F). Brush the tops lightly with an egg wash—this gives a glossy, golden finish. Bake for 18–22 minutes, rotating halfway. Be careful: overbaking dries layers; underbaking leaves a doughy center.
Watch the aroma—the buttery scent is intoxicating. A perfectly baked cruffin has a crispy exterior, visible laminated layers, and a soft, airy inside.

Step 5: Filling and Finishing Touches
Once cooled slightly, cruffins can be filled with chocolate ganache, fruit curds, pastry cream, or even nutella. Inject fillings gently to avoid deflating layers. A light dusting of powdered sugar or a thin glaze of apricot preserves adds visual appeal and sweetness.
For professional presentation, consider garnishing with chopped nuts or a drizzle of white chocolate. Many high-end cafes play with color—matcha powder, freeze-dried berries, or edible gold dust create Instagram-worthy finishes.
Common Mistakes and How to Avoid Them
Even experienced bakers trip over cruffins. The most common pitfalls:
- Butter too warm: Layers merge, pastry becomes greasy. Chill frequently.
- Skipping proofing: Leads to dense, heavy cruffins. Always bloom yeast and proof dough properly.
- Over-rolling: Cracks in dough ruin appearance. Roll gently, let dough relax.
- Overfilling: Can collapse the flaky structure. Inject lightly, evenly.
Every step matters—precision and patience yield bakery-grade results.
Advanced Techniques and Tips
- Use bread flour for slightly more chew; all-purpose yields tender layers.
- Experiment with flavored doughs: a hint of orange zest or cardamom elevates taste.
- Try a lamination twist: fold chocolate or almond paste inside layers for a decadent surprise.
- A light sugar syrup brush post-bake locks moisture, keeping cruffins fresh 2–3 days.
In professional settings, bakers often prepare dough the day before, allowing a slow overnight ferment. This deepens flavor and improves texture—similar to sourdough principles.
Nutritional Insights
While undeniably indulgent, cruffins aren’t just empty calories. Each cruffin contains about 300–350 kcal, with 18–22 grams of fat, primarily from butter. Using high-quality butter and flour ensures better nutrient absorption and flavor. Optional fillings can alter macros: fruit preserves add antioxidants, dark chocolate adds flavonoids. Moderation is key—enjoy these pastries as an occasional treat or for special events.
Emerging Trends in Cruffins
Cruffins continue to evolve. Some bakeries experiment with savory versions—cheddar and herbs, smoked salmon, or even spiced pumpkin. Gluten-free and vegan adaptations are emerging, though they require careful manipulation to mimic traditional lamination. There’s also a trend of cruffin “flights” in cafes: multiple mini-cruffins with varying fillings. It’s a sensory experience, and visually striking.
Real-World Application: Baking for Events
For professional bakers, cruffins are perfect for brunches, high-tea, or catering. They store well in airtight containers for 1–2 days. For larger events, make the dough in bulk, shape, and freeze cruffins raw; bake on the day for peak freshness. Clients love customization: chocolate lovers, fruit fans, even savory seekers.
Conclusion
Crafting 12 servings of cruffins is a labor of love but entirely worth it. From mastering lamination to achieving perfect proofing, each step shapes the final product’s success. These pastries embody culinary artistry: flakiness, buttery richness, and versatile flavors in a single bite.
To achieve professional results: respect temperatures, allow proper proofing, and embrace patience. Experiment with fillings, glazes, and flavors to elevate the pastry beyond ordinary. With these insights and techniques, your cruffins will impress even the most discerning palates—and leave them begging for more.
FAQs
What is a cruffin?
A cruffin is a hybrid pastry combining the flakiness of a croissant with the shape of a muffin.
Where did cruffins originate?
Cruffins were invented in Melbourne, Australia, by pastry chef Kate Reid.
How many servings does this recipe make?
This recipe makes 12 cruffins.
What type of butter should I use?
Use high-quality unsalted butter, cold but pliable.
Can I fill cruffins with chocolate or fruit?
Yes, fillings like chocolate ganache, fruit preserves, or nutella work perfectly.
How many layers should a well-laminated cruffin have?
A properly laminated cruffin can have up to 27 visible layers.
What’s the ideal proofing time?
Proof cruffins for 45–60 minutes until roughly doubled in size.
What temperature should the oven be for baking?
Bake cruffins at 200°C (400°F).
Can I prepare dough in advance?
Yes, you can refrigerate or freeze dough for later use.
How long do cruffins stay fresh?
Store in an airtight container for 1–2 days for best freshness.
Can I make savory cruffins?
Yes, options like cheddar, herbs, or smoked salmon are popular.
What’s a common mistake when making cruffins?
Using butter that’s too warm or skipping proofing are common errors.
Can I make gluten-free or vegan cruffins?
Yes, but they require careful ingredient adjustments to maintain layers.
Should I brush cruffins with sugar or glaze?
Yes, a sugar glaze or powdered sugar enhances flavor and appearance.
What flour works best for cruffins?
All-purpose flour works, but bread flour gives slightly more chew.

Mariana is a passionate home cook who creates delicious, easy-to-follow recipes for busy people. From energizing breakfasts to satisfying dinners and indulgent desserts, her dishes are designed to fuel both your body and hustle.
When she’s not in the kitchen, she’s exploring new flavors and dreaming up her next recipe to share with the Foodie Hustle community.