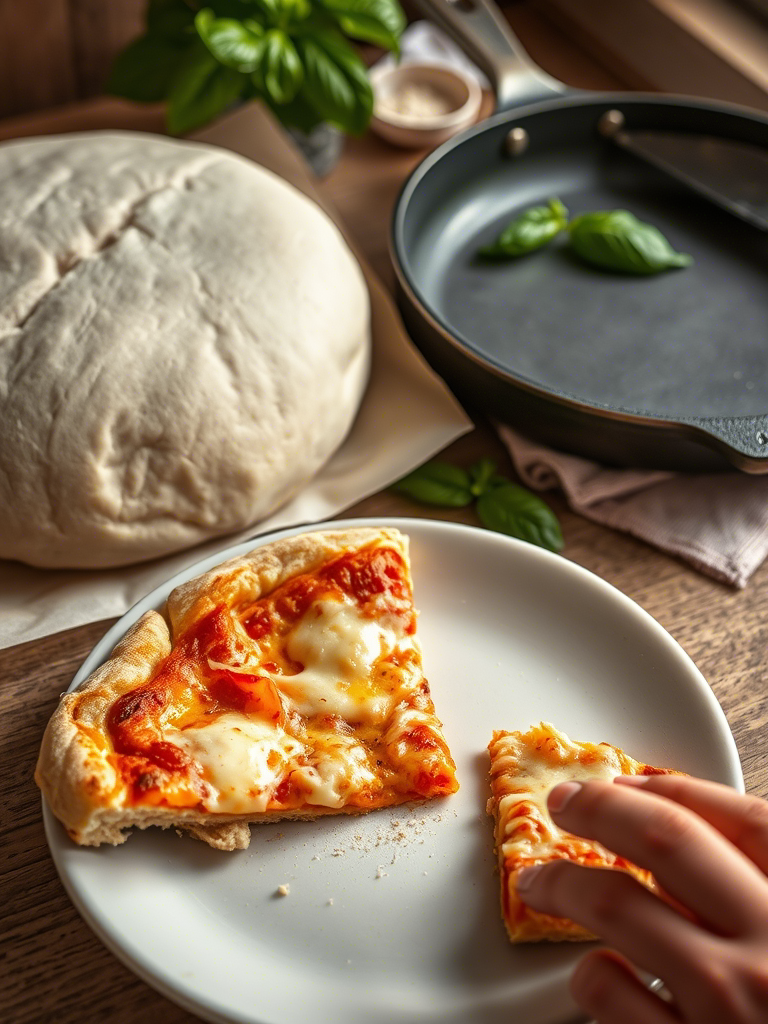
There’s something sacred about dough. Especially pizza dough.
Not the store-bought, plasticky kind that smells like nothing and tastes like even less. I’m talking about the real stuff—flour, water, yeast, salt. Maybe a glug of olive oil if you’re feelin’ frisky. Dough that bubbles up in the oven and whispers Napoli with every bite.
This guide ain’t just for the Sunday cook. It’s for pros, chefs, caterers, even dough-slinging rebels trying to elevate their crust game. Whether you’re running a mobile oven or teaching culinary school, this one’s worth your time.
Let’s break down easy homemade pizza dough. Not “fast,” not “lazy,” but easy—in the sense that it works, reliably, every time.
Why Pizza Dough Matters More Than the Toppings
Here’s the raw truth: toppings don’t save a bad crust.
Think about your last great slice. Was it the pepperoni? The basil? Nope—it was the crackle and chew, the charred edges, the tiny blisters like moons on a golden-brown surface.
Dough is 60–70% of the final product. Yet too many folks treat it like the paper bag the pizza comes in. Disposable. Background noise. I’ve worked with chefs who spend hours on sauce but toss the dough together in five minutes. And it shows.
Let’s fix that.
The Science (And Magic) Behind Pizza Dough
At its core, pizza dough is a basic lean dough:
Flour + Water + Yeast + Salt (+ sometimes oil).
But those four humble ingredients behave like they’ve got secrets. And they do.
- Hydration: Most pro-level doughs hover between 60–75% hydration (that’s grams of water per 100g of flour). More water = more open crumb and lighter texture.
- Fermentation: Dough isn’t just rising. It’s developing flavor through time, temperature, and enzymatic activity. This is where commercial yeast meets wild complexity.
- Gluten: Not a villain—gluten is your structure. But it needs time to form, and it hates being rushed.
A good dough rests. A great dough rests twice—bulk fermentation, then cold proofing. Time isn’t just a factor here; it’s an ingredient.
Ingredients: What Really Matters
Before you throw flour into a bowl, listen. Ingredients matter. Not just what they are, but where they come from.
Flour: The Backbone
Skip the all-purpose stuff if you’re serious. Bread flour is the move—higher protein (around 12–13%) means stronger gluten networks. That means better chew, better stretch, less tearing.
Wanna go further? Caputo 00 flour is the Neapolitan darling. It’s silky, low ash, and fine-milled. But it doesn’t brown as well in home ovens unless you push heat north of 700°F.
Blend it. Half 00, half bread flour. You’ll get the best of both worlds—delicate crumb and crust with enough color.

Water: Not Just Filler
Use filtered water. Seriously. Hard water slows fermentation and messes with gluten. Chlorine and minerals can wreck your rise. Use cold water for slow ferments; warm (not hot!) for faster doughs.
Yeast: Choose Your Fighter
Active dry. Instant. Fresh. Sourdough.
Each one’s got fans. Instant yeast is predictable and strong—use it at 0.3–0.5% of your flour weight. Fresh yeast gives a smoother flavor but needs more care. Sourdough? That’s a different religion entirely.
For simplicity and reliability, go instant. Don’t overthink it. Yet.
Salt: More Than Flavor
Salt isn’t just seasoning. It strengthens gluten and slows yeast. Go with 2–2.5% of flour weight. Dissolve it after the autolyse step (if you’re doing that).
Olive Oil (Optional)
A touch of oil softens the dough, helps browning, and adds a hint of richness. But in high-hydration or Neapolitan-style doughs, leave it out.
The Process: Step by Real-World Step
Let’s make dough. This isn’t the only way. But it is one of the best for consistent, flavor-packed results.
Ingredients (For 4 x 250g dough balls – enough for 4 10-12” pizzas)
- 640g Bread flour (or 50/50 Caputo + bread)
- 416g Water (65% hydration)
- 2g Instant yeast
- 16g Fine sea salt
- 15g Extra virgin olive oil (optional)
Step 1: Mix & Autolyse
Combine flour and water. Just those two. Mix until shaggy. No salt, no yeast yet.
Let it rest for 30 minutes. This is the autolyse. It jumpstarts gluten development and gives you a head start without extra kneading.
Step 2: Add Yeast and Salt
Sprinkle in the yeast, then the salt. Knead it in. At this point, it’ll feel sticky and weird, like wet elastic. That’s fine. Knead for about 5–7 minutes by hand, or 4–5 with a stand mixer.
Not too long. Over-kneading is a real thing.
Step 3: Bulk Fermentation
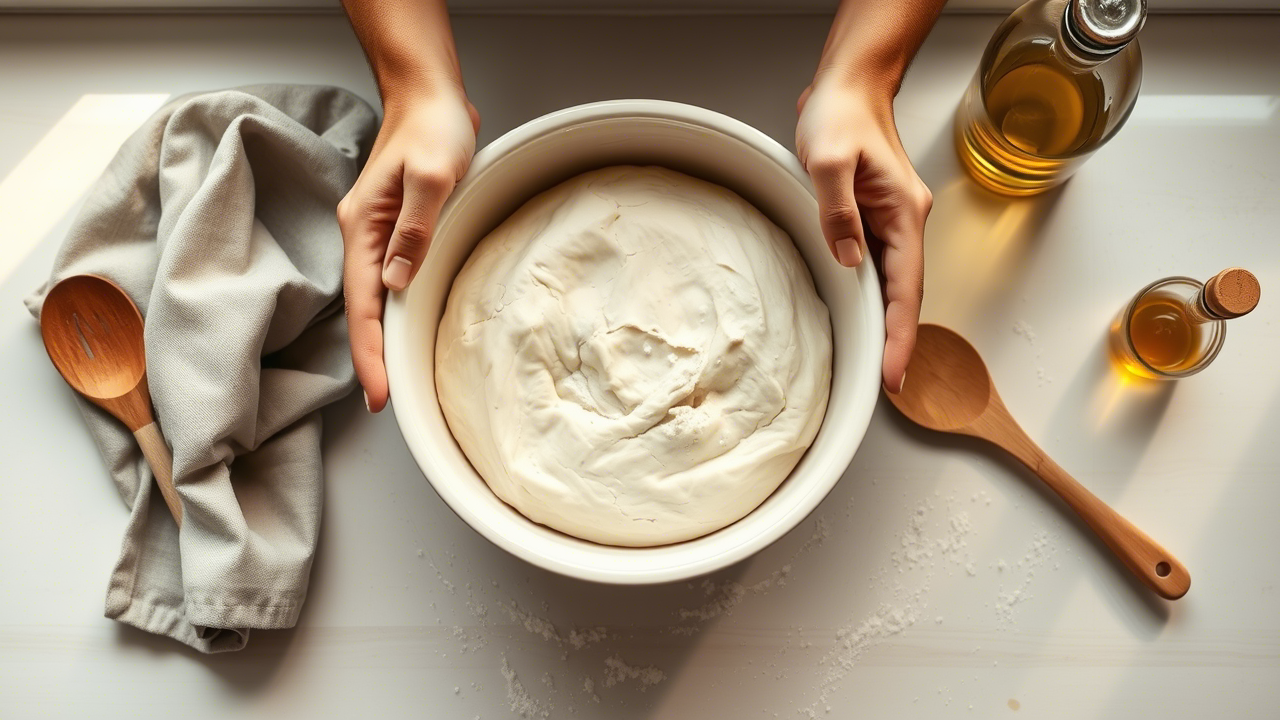
Transfer the dough to a lightly oiled bowl. Cover it.
Let it rise at room temperature (about 72°F) for 2–4 hours, depending on your yeast amount and room temp. You’re looking for a 1.5x rise, not a balloon.
Want more flavor? Stick it in the fridge after the first hour. Let it cold-proof for 24–72 hours. This slow ferment = magic. Airier crust, more complex taste, better browning.
Step 4: Divide and Ball
Take the dough out. Divide into 4 equal parts (around 250g each). Shape each into a tight ball. Use floured hands and tension the surface as you go.
Pop ’em into separate oiled containers or dough boxes. Cover and refrigerate 24 more hours if possible. If you’re in a rush, let them sit at room temp for 2–3 hours.
Step 5: Rest & Stretch
Let the dough balls come to room temp for at least an hour before shaping. Cold dough snaps back. Warm dough stretches like a dream.
Don’t use a rolling pin. Ever. You’ll crush all the gases you worked so hard for.
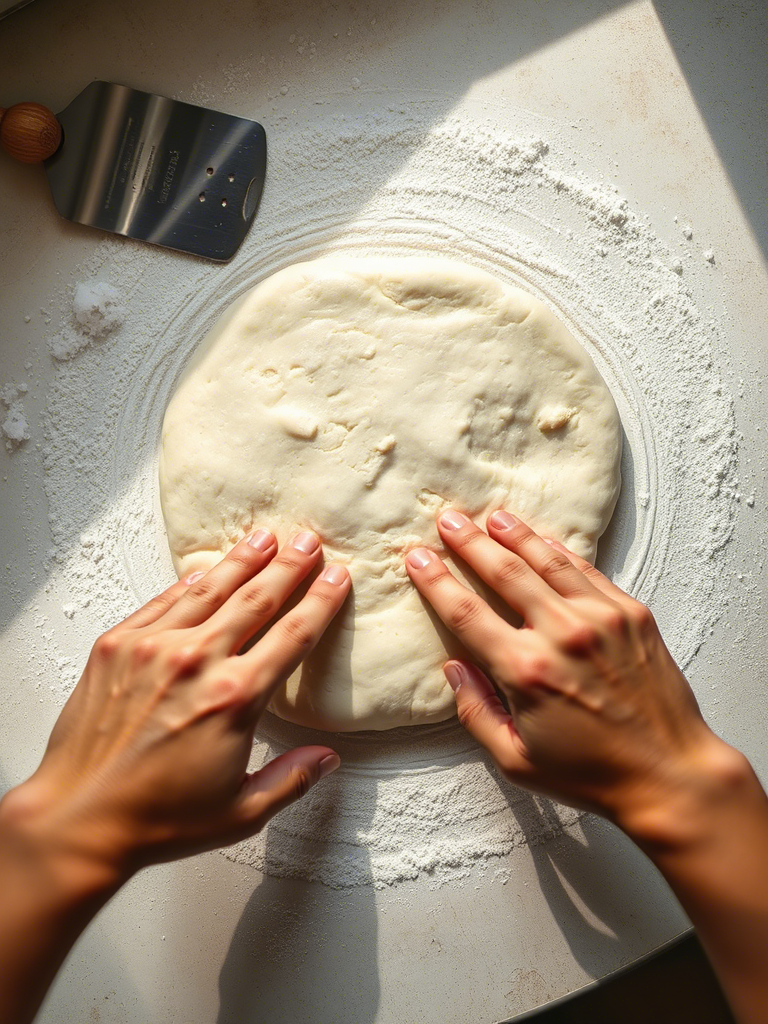
Instead, use your fingers and gravity. Push from the center, stretch gently from the edge. You want a 10–12” circle with a defined rim.

Step 6: Top and Bake
Go light on sauce. Real light.
A thin smear of crushed tomatoes or white sauce. Maybe fresh mozz, basil, some olive oil. That’s it.
Bake at 500°F minimum. If you’ve got a pizza steel or stone, use it. Preheat for 45 minutes. If you’re lucky enough to have an Ooni or wood oven, crank it to 850–900°F.
Bake 6–8 minutes in a home oven, or 90 seconds in a wood-fired.
Real-World Chef Tips You Probably Haven’t Heard
- Don’t flour your surface too much. Excess flour burns and ruins the bottom crust. Use semolina or rice flour instead.
- Use a cold ferment schedule. Always. Even 24 hours changes the game. 48+ is even better.
- No sugar in the dough. Sugar’s for cookies. If you ferment right, the dough naturally sweetens. Sugar also burns fast at high temps.
- Test your hydration. Higher hydration gives a better crumb but is trickier to handle. 65% is the sweet spot for most home bakers.
- Weigh everything. Forget cups. Use grams. Bakers’ math is precise. Your dough should be, too.
- Let your dough rest. Again. After shaping, give it 10–15 mins before adding toppings. It relaxes the gluten and reduces snapback.
Common Mistakes to Avoid
- Overproofing: If your dough doubles and then collapses, it’s gone too far. Use it for focaccia instead.
- Under-hydration: Dry dough is tough, tight, and doesn’t bubble well.
- Too much yeast: More yeast doesn’t mean faster dough—it means worse flavor and dense structure.
- Skipping the rest: A good dough needs time. Every shortcut shows up in the final pie.
Trend Watch: What’s Coming in the Dough World?
- Hybrid sourdough-yeast blends are gaining ground—controlled fermentation + natural tang.
- Ancient grains like spelt and einkorn are making appearances. They’re trickier but full of earthy complexity.
- Cold ferment + wild starter combo—a method gaining traction in artisan bakeries. Wild yeast, low temp, long rise = ridiculous flavor.
Final Words: Dough Like a Pro
You now know more about pizza dough than 90% of home cooks and even a lot of line cooks.
But here’s the deal—dough teaches you, not the other way round. You listen, feel, adjust. It’s alive.
Start simple. Get consistent. Then riff.
This isn’t about perfection. It’s about process. And joy. And pulling a bubbling, blistered crust from the oven that smells like home—even if your home’s got stainless countertops and an industrial hood.
So roll up your sleeves. Flour your hands.
It’s time to make pizza that matters.
FAQs
What is the ideal hydration level for homemade pizza dough?
65% hydration is a sweet spot—easy to handle, yet still gives a light, airy crust.
Can I use all-purpose flour instead of bread flour?
Yes, but bread flour gives better chew and structure due to higher protein content.
How long should I ferment the dough for best flavor?
At least 24 hours in the fridge—48 to 72 hours is even better.
Do I need sugar in my pizza dough?
Nope, proper fermentation brings out natural sweetness; sugar can burn at high temps.
Is olive oil necessary in pizza dough?
It’s optional—adds softness and flavor but isn’t needed for Neapolitan-style crusts.
Can I skip the autolyse step?
You can, but it improves gluten development with less kneading effort.
Why is my dough tearing when I stretch it?
It’s likely under-kneaded or not rested enough—gluten needs time to relax.
What’s the best way to shape pizza dough?
Use your hands, not a rolling pin, to preserve air bubbles and structure.
Do I need a pizza stone or steel to bake pizza?
Highly recommended—it retains intense heat and improves crust texture and browning.
How do I prevent the dough from sticking to the peel?
Dust it with semolina or rice flour; they don’t burn as easily as regular flour.
Can I freeze homemade pizza dough?
Yes—freeze after balling, then thaw overnight in the fridge before using.
Why does my crust taste bland?
It’s likely under-salted or under-fermented; both impact flavor big time.
How do I know if my dough is over-proofed?
If it deflates easily or has a strong sour smell, it’s probably over-proofed.
Can I make the dough same-day?
Yes, but it won’t have the deep flavor of a slow-fermented dough.
What temperature should I bake homemade pizza at?
At least 500°F (260°C) in a home oven—higher if your setup allows.
Ask ChatGPT

Mariana is a passionate home cook who creates delicious, easy-to-follow recipes for busy people. From energizing breakfasts to satisfying dinners and indulgent desserts, her dishes are designed to fuel both your body and hustle.
When she’s not in the kitchen, she’s exploring new flavors and dreaming up her next recipe to share with the Foodie Hustle community.

