
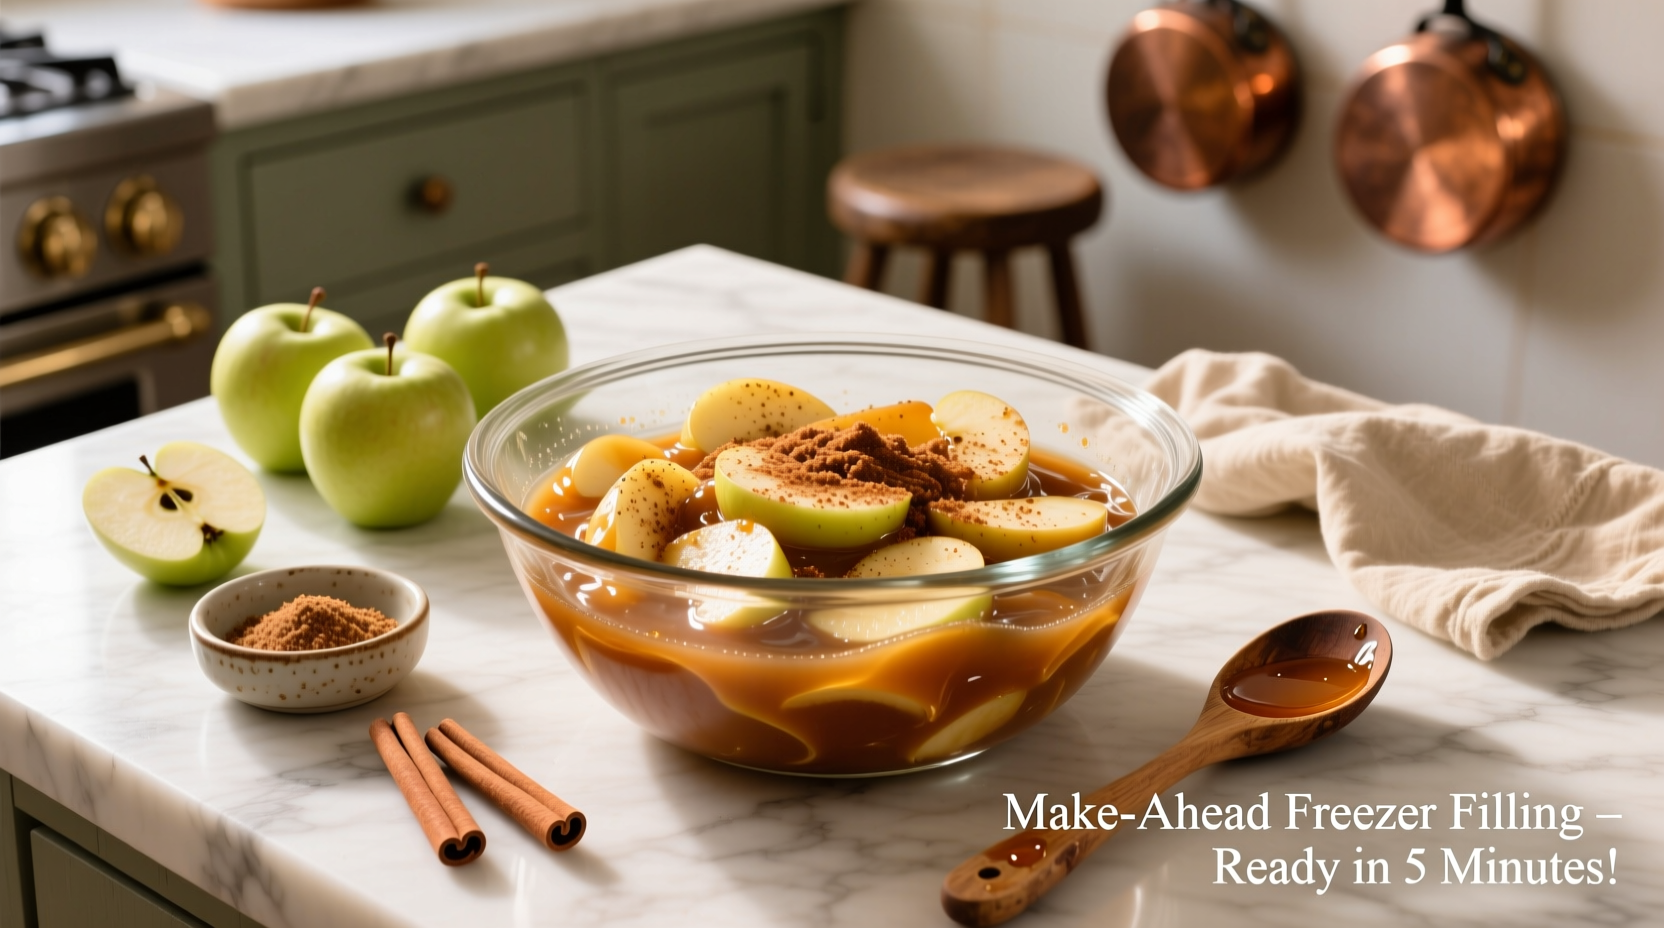
The smell of bubbling apples, warm spices, and buttery crust drifting through the kitchen—it’s the kind of comfort that pulls you in from a mile away. But let’s be honest, making apple pie from scratch every time that craving hits? Not always practical. That’s where a Make-Ahead Freezer Apple Pie Filling Recipe swoops in like a culinary hero. You prep once, freeze it, and boom—you’ve got cozy pie filling ready whenever your heart (or guests) demand it.
This isn’t your average dump-and-freeze situation. Nope. This is about preserving the apples’ perfect bite, keeping flavors deep and clean, and ensuring the filling doesn’t turn into a soggy, cinnamon-colored mess when thawed. Let’s dig in.
Why Freezer Apple Pie Filling Is a Game-Changer
There’s something magical about the idea of “future you” thanking “past you.” Freezer apple pie filling is that magic. You spend maybe an hour slicing, simmering, and sealing, and in return, you get the taste of fall—anytime.
Freezing fruit fillings isn’t new, but doing it right—now that’s a bit of an art. Apples, as you probably know, brown quickly and lose firmness when frozen incorrectly. The trick? Balance sugar, acidity, and starch so the fruit stays bright, slightly crisp, and not weepy when baked later.
It’s also wildly efficient for anyone running a bakery, café, or just a busy home kitchen. You can prep large batches, portion them neatly, and stack them up like edible gold bars in your freezer.
Choosing the Right Apples (Don’t Just Grab What’s Shiny)
Not every apple can handle the freeze-thaw cycle gracefully. Some varieties go mushy, others turn flavorless. A blend often works best.
For structure and tartness, Granny Smith is your anchor. She’s sturdy, zesty, and keeps her bite. Add Honeycrisp or Braeburn for sweetness and juiciness. If you want a whisper of floral notes, toss in one or two Jonagolds. Avoid Red Delicious—too soft, too bland.
When tested in commercial kitchens, blends performed better, offering a fuller flavor spectrum. A mix ratio of 60% tart to 40% sweet apples generally gives a balanced pie.

Ingredients You’ll Need
For about 8 servings (enough to fill one 9-inch deep-dish pie):
- 8 cups peeled and sliced apples (roughly 8 medium)
- ¾ cup granulated sugar
- ¼ cup brown sugar
- 3 tablespoons cornstarch (or 4 tbsp flour if you prefer a thicker texture)
- 1 teaspoon ground cinnamon
- ¼ teaspoon nutmeg
- ⅛ teaspoon allspice (optional but adds warmth)
- 2 tablespoons lemon juice (fresh is best)
- ¼ teaspoon salt
- 1 teaspoon vanilla extract
- ½ cup water or apple cider
Each component here matters. Sugar balances acidity and helps preserve the apple’s texture in the freezer. Lemon juice prevents browning and enhances the fruit’s natural sharpness. Starch binds the juices later, giving that dreamy, syrupy consistency when baked.
Step-by-Step: Crafting the Perfect Make-Ahead Filling
This isn’t a throw-it-all-in-the-pot deal. You’ll want precision, but not perfection paralysis.
- Prep the Apples – Peel, core, and slice them about ¼ inch thick. Uniform slices cook evenly. Drop them into a bowl of water with a tablespoon of lemon juice as you go. Keeps ‘em from browning.
- Mix the Dry Ingredients – In a large pot, whisk together sugar, brown sugar, cornstarch, cinnamon, nutmeg, allspice, and salt. You’re basically making a spiced base.
- Add Liquids – Pour in water (or apple cider) and lemon juice. Stir until smooth, no lumps.
- Cook the Syrup – Bring that mixture to medium heat. Stir constantly till it thickens—should coat your spoon but not look like pudding. Usually 3–5 minutes.
- Add the Apples – Toss in your drained apple slices and stir gently. Simmer for 5–7 minutes, just till the apples soften a bit. You’re not fully cooking them—just coaxing out flavor and giving them a head start.
- Cool It Down – Remove from heat, stir in vanilla extract, and let it cool completely. Cooling prevents condensation (which leads to freezer burn).
- Portion and Freeze – Spoon the mixture into freezer bags or containers. Flatten them for even freezing. Label with the date—this is crucial for rotation.
How to Freeze (and Thaw) Like a Pro
For best texture retention, use freezer-grade bags and press out air before sealing. Lay the bags flat so they stack easily. The filling lasts up to 8 months with minimal flavor loss.
When ready to bake, thaw overnight in the refrigerator. Don’t microwave—it’ll ruin the texture. For pies, you can actually bake the filling directly from frozen. Just add 10–15 extra minutes of bake time.
If using for turnovers, crisps, or galettes, thaw partially so it’s scoopable but still chilled. Cold filling means flakier pastry.
Expert Insight: The Science Behind the Syrup
Here’s the nerdy bit. Apples contain pectin, a natural gelling agent. Cooking the filling lightly activates that pectin, helping it hold structure later. Cornstarch works in harmony with it, thickening the syrup without clouding flavor.
The sugar binds water molecules, reducing the chance of ice crystal formation. Lemon juice, high in citric acid, slows enzymatic browning and stabilizes color. This trifecta—sugar, starch, acid—is your preservation power trio.
Professional pastry chefs often tweak starch levels depending on apple variety. Wetter apples (like Fuji) need more thickener, while drier ones (like Granny Smith) need less.
Using Your Freezer Apple Pie Filling
Here’s where it gets fun. Yes, it’s meant for pies, but don’t stop there.
- Spoon it over pancakes or waffles for a caramel-apple twist.
- Use it as filling in hand pies or apple turnovers.
- Layer it into yogurt parfaits or top your cheesecake with it.
- Stir into oatmeal for a warm autumn breakfast that feels fancy but isn’t.
The filling also doubles as a base for apple crisp—just crumble oats, butter, and brown sugar on top and bake till golden.
Troubleshooting: When Things Go Sideways
Sometimes, despite your best efforts, things happen. Apples release more liquid than expected, or the filling gets cloudy. Don’t panic.
If your thawed filling seems runny, simmer it for a few minutes to thicken before baking. A tablespoon of cornstarch slurry (1 tbsp cornstarch + 2 tbsp cold water) usually fixes it.
If the flavor feels flat, add a dash more lemon juice or a drizzle of maple syrup before baking. Acidity brightens everything.
And if the apples are too soft post-bake, try using a firmer variety next time or shortening the pre-freeze simmer step.

Emerging Trends: The Rise of Freezer-Ready Fillings
In professional kitchens, freezer-ready fillings are quietly reshaping workflow efficiency. Bakeries are using them to streamline production—imagine prepping 20 pies’ worth of filling in one afternoon instead of repeating it daily.
Data from the National Restaurant Association (2024) showed a 37% increase in pre-prepped fruit fillings usage among small bakeries and cafes. That’s time saved and waste reduced.
For home cooks, freezer fillings mean sustainability. Fewer spoiled apples, less pressure to bake immediately. It’s also cost-effective—buy apples in bulk when in season and enjoy premium flavor off-season.
Pro Tips for Long-Term Flavor Retention
- Always cool before freezing. Hot filling creates condensation = freezer burn.
- Add vanilla last. It fades when cooked too early.
- Use a dash of salt. It intensifies sweetness without extra sugar.
- Label and date. Rotating old batches prevents flavor degradation.
- Try vacuum sealing. Keeps air exposure minimal for up to a year.
Frequently Asked Expert Questions
Can I freeze raw apple filling instead of cooking it first?
Yes, but cooked fillings maintain better texture. Raw ones can leach water during thawing, leading to soggy pies.
Can I use tapioca instead of cornstarch?
Absolutely. Instant tapioca gives a glossy, stable texture that freezes beautifully.
What if I want less sugar?
Cut sugar by 25%, but increase starch slightly to balance the extra liquid release.
Can this be canned instead of frozen?
Yes, but use Clear Jel instead of cornstarch. Regular starches don’t hold up to canning heat.
How long does it last in the freezer?
6–8 months ideally, though it’s still safe up to 12 months if sealed tight.
Final Thoughts: A Little Effort, a Lot of Reward
A make-ahead freezer apple pie filling isn’t just about saving time—it’s about capturing a season in a bag. Each spoonful carries the crisp snap of autumn air, a touch of cinnamon warmth, and the kind of nostalgia that feels like a hug.
Do the prep once, and future you gets to pull out a taste of home, any day of the year. That’s not just convenience—that’s clever cooking.
FAQs
How long can I store freezer apple pie filling?
You can store it for up to 8 months in airtight freezer-safe bags or containers.
Can I bake the pie filling directly from frozen?
Yes, just add 10–15 extra minutes to your baking time to ensure even cooking.
What are the best apples to use for freezing?
Granny Smith, Honeycrisp, and Braeburn work best due to their firm texture and balanced flavor.
Can I reduce the sugar in the recipe?
Yes, reduce sugar by about 25%, but slightly increase the starch to maintain thickness.
Do I need to cook the filling before freezing?
Yes, lightly cooking helps activate pectin and prevents the apples from turning mushy after thawing.
How do I prevent freezer burn on my filling?
Cool completely before freezing and press out all air from the freezer bags before sealing.
Can I use the filling for desserts other than pie?
Absolutely, it’s perfect for crisps, turnovers, cheesecake toppings, or even oatmeal.
What’s the best way to thaw the frozen filling?
Thaw overnight in the refrigerator—avoid microwaving to preserve texture.
Can I use flour instead of cornstarch for thickening?
Yes, substitute 4 tablespoons of flour for 3 tablespoons of cornstarch for similar results.
Why add lemon juice to apple pie filling?
It prevents browning, balances sweetness, and brightens the overall flavor of the apples.

Mariana is a passionate home cook who creates delicious, easy-to-follow recipes for busy people. From energizing breakfasts to satisfying dinners and indulgent desserts, her dishes are designed to fuel both your body and hustle.
When she’s not in the kitchen, she’s exploring new flavors and dreaming up her next recipe to share with the Foodie Hustle community.