
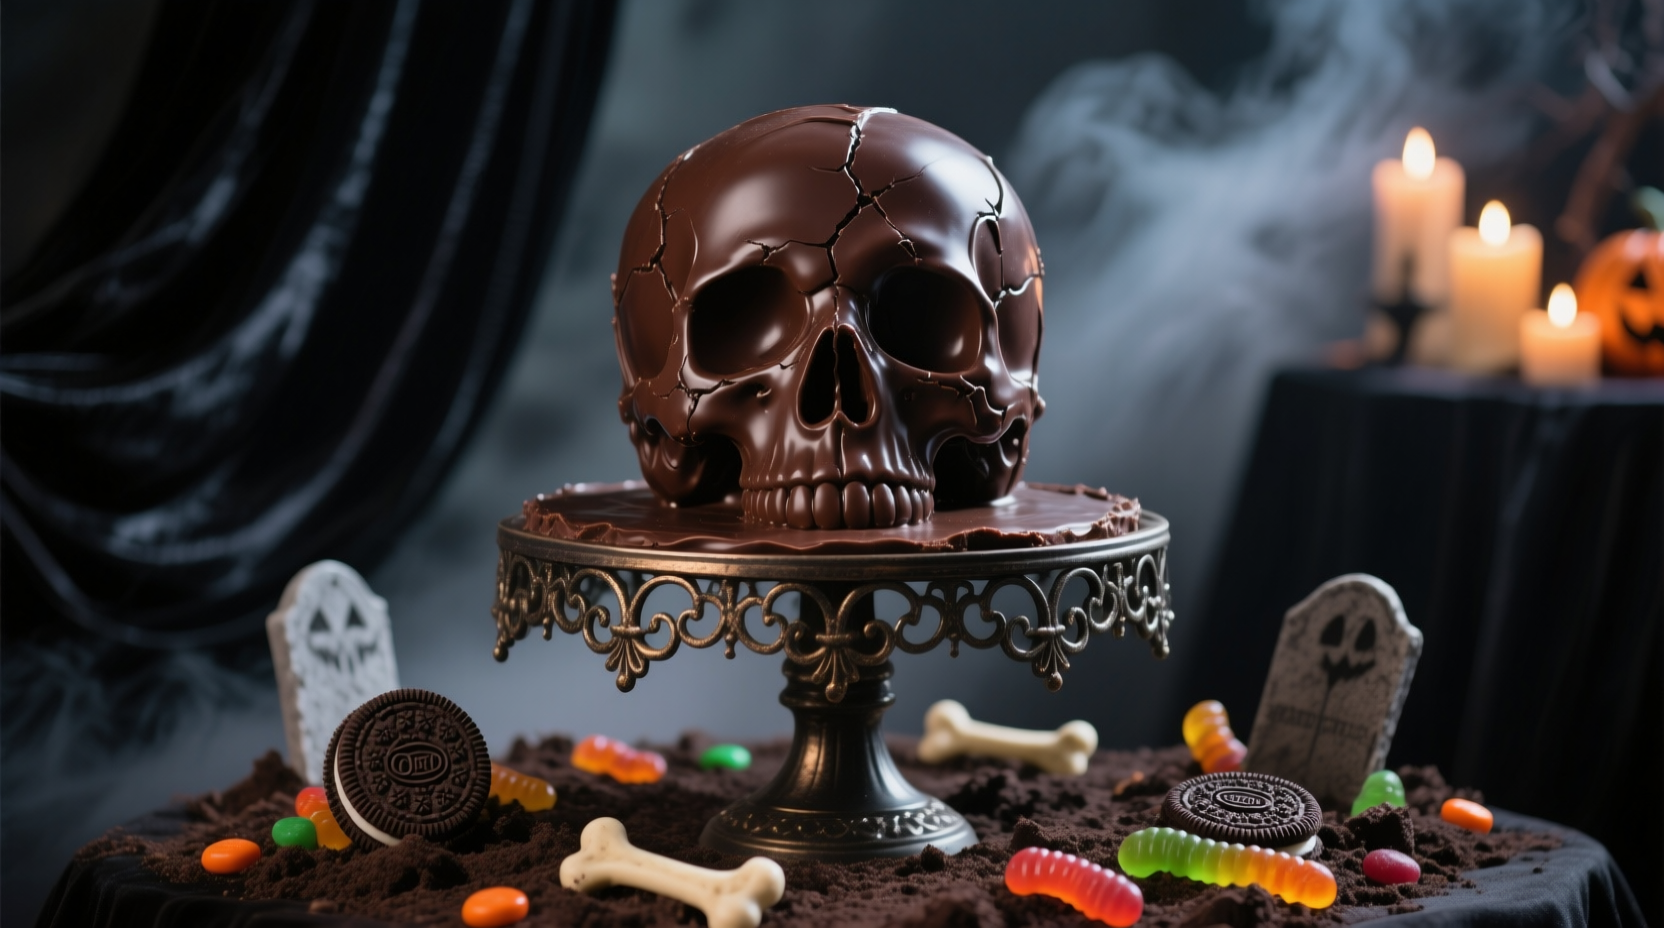
Halloween never asked politely for boring desserts. It demands drama, it thrives on shadows, and it loves when sugar looks a little too real. That’s where the Halloween chocolate skull cake enters the picture. This isn’t just another seasonal recipe—it’s a full-on edible sculpture. Professionals in pastry and baking know, pulling off such a cake is equal parts art and engineering. And believe me, once you get it right, no guest will forget it.
Why Skull Cakes Are Taking Over Halloween Tables
If you scroll through seasonal bakery sales data, one thing jumps out: themed desserts outperform plain cakes by almost 30% in October, according to a 2022 report from the National Confectioners Association. People want spectacle with their sugar. Skull cakes tick all the boxes—shock factor, texture, and room for creativity.
A well-made chocolate skull cake is both eerie and inviting. It looks like something from a Tim Burton movie but tastes like the richest French patisserie. The rise of silicone skull molds on the market has only made it easier for chefs and home bakers alike. You don’t need to carve by hand anymore (though I’ll admit, hand-carved chocolate skulls are still the gold standard for competitions).
The Foundation: Choosing the Right Chocolate
The entire structure lives or dies by the chocolate. A rookie mistake is using cheap compound chocolate. It won’t temper right, it’ll bloom in hours, and you’ll end up with a gray, streaky skull that looks more like a relic dug out of the garden than a centerpiece. Professionals go for couverture chocolate with a cocoa butter content between 31–38%.
Dark chocolate works best for visual intensity. It gives depth, catches shadows, and when polished, looks almost bone-like under candlelight. Milk chocolate is softer, sweeter, but can be too playful if you’re aiming for terrifying. White chocolate, on the other hand, when airbrushed with edible charcoal dust, mimics the porous look of an actual skull frighteningly well.
I once had a student make a full white chocolate skull, brush it with cocoa powder, and the thing looked so disturbingly real that one guest refused to cut it. That’s how far chocolate can go when you pick the right base.
Structure and Mold Technique
For professional results, silicone skull molds are non-negotiable. Metal molds tend to warp the details, and rigid plastic risks cracks when unmolding. A full 3D skull mold usually comes in two halves, which you join later with tempered chocolate or melted ganache as glue.
Here’s a small but often ignored tip: chill your mold before pouring. Cold molds help the first layer of chocolate set quickly, locking in definition. But never freeze—frozen molds condense moisture, and water is chocolate’s worst enemy.
Professionals layer the chocolate, rather than pouring it all in at once. Think three or four thin coats, brushed around the cavity with a pastry brush. This technique avoids hollow weak spots that collapse once filled. It takes patience, but the result is a skull that holds its shape and doesn’t melt into a sad puddle on the display table.

The Cake Base: Rich, Moist, and Dark
The skull isn’t just decoration. Inside, you want a cake that pairs with the intensity of chocolate shell. A dark chocolate sponge works beautifully, especially recipes using buttermilk and hot coffee. Coffee sharpens the chocolate notes, giving that bitter edge that cuts through sweetness.
For professionals, consistency is everything. Sponge needs to hold when carved but still melt in the mouth. Over-aerated batters will crumble, making assembly impossible. Underbaked centers? Forget it, you’ll never seal that into a chocolate skull without disaster.
One of the best bases I’ve tested is a modified devil’s food cake. It has the right density, slight chew, and depth of cocoa flavor. Add in a salted caramel swirl or cherry compote layer for shock value when guests cut inside. A skull bleeding cherry sauce? That’s Halloween drama right there.
Filling Ideas That Elevate the Horror
Ganache is the standard. Equal parts chocolate and cream, whipped to soft peaks for mousse-like texture. But Halloween invites more daring choices. Imagine slicing into a skull to reveal pumpkin spice cream cheese filling, or a blood-red raspberry curd oozing from the eye sockets.
There’s a reason why fillings matter more here than in a regular cake. A skull cake is theater. You want movement, surprise, and contrast. A dark chocolate shell paired with bright, tangy fruit filling creates a visual shock and taste balance at the same time.
Professionals sometimes add texture: candied nuts, praline crunch, or even cookie crumbs. That crackle between bites makes the eating experience layered, not flat.
Decoration: Where Art Meets Pastry Science
Let’s be clear, anyone can dust cocoa powder and call it Halloween. But professionals know details sell the illusion. Airbrushing with edible colors can turn white chocolate into something resembling ancient bone. Metallic edible paints—bronze, silver, gold—make a skull look almost regal, like treasure pulled from a tomb.
One technique worth noting: isomalt flames or sugar shards. Surrounding the skull with jagged red glass sugar gives a violent, shattered effect. Another? Using edible gold leaf to accent cracks in the skull, mimicking Japanese kintsugi, which oddly pairs with gothic themes.
I’ve also seen pastry chefs carve into the chocolate shell post-setting, etching fine cracks and details. The skull then stops being just a mold replica and becomes hand-finished sculpture. That’s the kind of detail that wins competitions.
Common Mistakes and Professional Fixes
Chocolate bloom is the number one issue. This happens when fat crystals rise to the surface due to improper tempering. The fix: always temper your chocolate to precise temperatures. For dark chocolate, that means heating to 115°F, cooling to 82°F, then reheating to 88–90°F. Skipping this step leads to dull, streaky skulls.
Another mistake: overfilling the skull with cake. If your sponge presses too hard against the shell, cracks appear. Always carve the cake slightly smaller than the cavity and fill the gaps with buttercream or ganache. That creates a cushion rather than stress.
Moisture is another enemy. Refrigerated skull cakes, when brought to room temp, can sweat. Professionals store them in cool, dry environments and transport in insulated carriers. Direct fridge-to-display transfers are risky business.
Trends in Halloween Skull Cakes
Edible artistry evolves every year. One emerging trend is glow-in-the-dark skull cakes using UV-reactive edible paints. Under blacklight, the skull lights up neon, giving a nightclub horror effect.
Another is hybrid cakes: part chocolate skull, part geode. By carving into the side of the skull and filling it with rock candy crystals, bakers merge geology with horror. It’s bizarre, but customers pay top dollar for novelty.
Plant-based skull cakes are also growing. Vegan chocolate and aquafaba-based sponge recipes are making their way into high-end patisserie, proving you don’t need eggs or dairy to terrify taste buds.

Step-by-Step Professional Recipe
Ingredients
- 800 g couverture dark chocolate (70%)
- 300 g white chocolate (for bone details)
- 250 g unsalted butter
- 400 g granulated sugar
- 3 large eggs
- 250 g all-purpose flour
- 60 g cocoa powder
- 240 ml buttermilk
- 120 ml brewed coffee (hot)
- 2 tsp baking soda
- 1 tsp salt
- 500 ml heavy cream (for ganache)
- 500 g dark chocolate (ganache base)
- Raspberry puree or cherry compote (optional filling)
Method
- Temper the dark chocolate using the three-step method. Coat skull molds with thin layers until fully lined. Let set.
- Prepare sponge by creaming butter and sugar. Add eggs one at a time. Mix dry ingredients separately, then combine with buttermilk and coffee. Bake at 175°C until firm. Cool completely.
- Make ganache by heating cream and pouring over chopped chocolate. Stir until smooth, cool slightly, then whip for airy texture.
- Carve sponge into smaller sections and layer with ganache and compote. Insert into the chocolate skull cavity. Seal with additional chocolate.
- Join two halves of the skull with melted chocolate. Smooth seams with warm spatula.
- Decorate with edible paints, cocoa dust, or sugar shards for dramatic finish.
The Final Word
Halloween chocolate skull cake isn’t just a recipe, it’s a stage performance. It’s precision in tempering, balance in sponge, and theater in decoration. Professionals know that this type of cake is less about feeding people and more about creating an edible experience that gets remembered long after the sugar rush fades.
If you’re in the industry, consider it more than seasonal novelty. It’s a showcase of skill that can set your bakery apart. When a skull cake walks into a party, nothing else on the table matters. That’s the kind of dessert you want associated with your name.
FAQs
What is a Halloween chocolate skull cake?
It’s a cake encased in a chocolate skull shell, decorated for a spooky Halloween effect.
What type of chocolate works best for skull cakes?
Couverture dark chocolate is best because it tempers well and gives a glossy, strong shell.
Can I use regular chocolate instead of tempered chocolate?
Yes, but it won’t hold shine or structure as well and may bloom quickly.
How do I stop the chocolate skull from cracking?
Carve the sponge slightly smaller than the mold cavity and cushion with ganache.
What fillings work best inside the skull?
Ganache, fruit compotes, caramel, or cream cheese blends pair beautifully.
Do I need a special mold for this cake?
Yes, a flexible silicone skull mold is ideal for definition and easy release.
Can the skull cake be made ahead of time?
Yes, but store it in a cool, dry place to avoid condensation and cracks.
How do professionals decorate chocolate skull cakes?
They use airbrushing, edible metallic paints, cocoa dust, and sugar shards.
Can this cake be made vegan?
Yes, by using vegan chocolate, aquafaba-based sponge, and dairy-free ganache.
Why does my chocolate skull look streaky or dull?
That’s usually caused by improper tempering, leading to fat or sugar bloom.
How long does it take to make a chocolate skull cake?
Between 6–8 hours, considering chocolate setting, baking, cooling, and assembly.
What’s the best way to transport a skull cake?
Use insulated carriers in a cool environment to prevent sweating and breakage.
Can I add color to the skull?
Yes, edible paints, colored cocoa butter, or luster dusts work well for detail.
What cake base works best inside?
Dense cakes like devil’s food or pound cake hold structure better than light sponges.
Is this recipe suitable for beginners?
Yes, but patience with tempering and layering is key for best results.

Mariana is a passionate home cook who creates delicious, easy-to-follow recipes for busy people. From energizing breakfasts to satisfying dinners and indulgent desserts, her dishes are designed to fuel both your body and hustle.
When she’s not in the kitchen, she’s exploring new flavors and dreaming up her next recipe to share with the Foodie Hustle community.