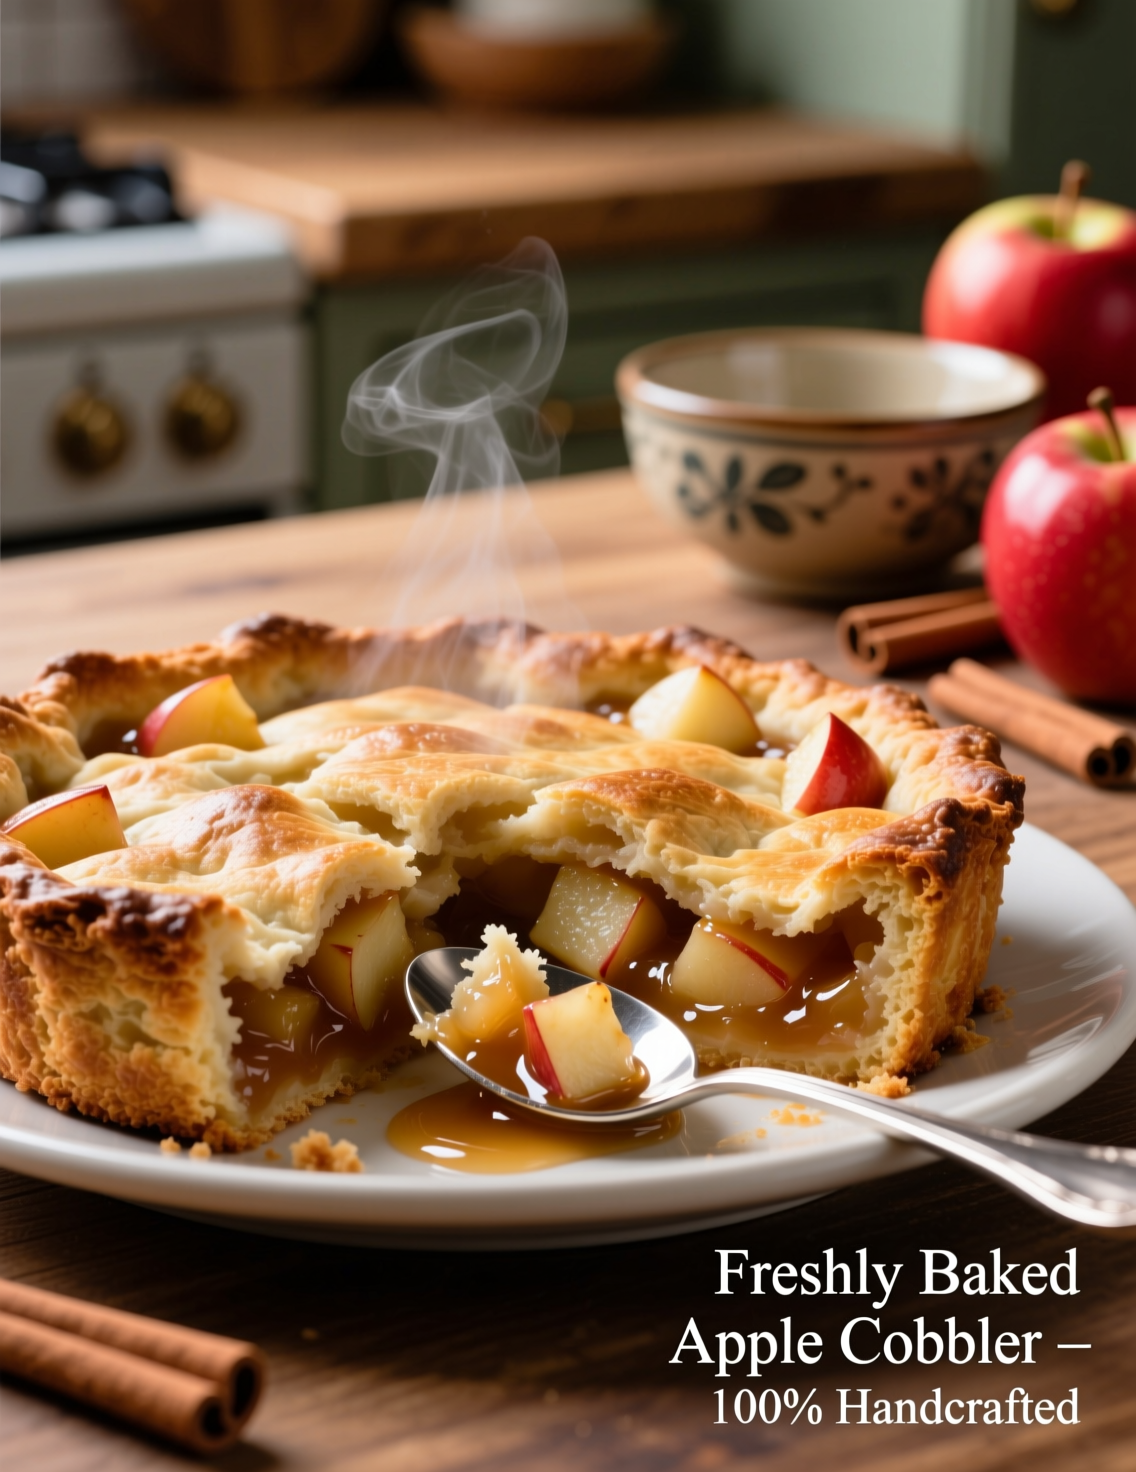
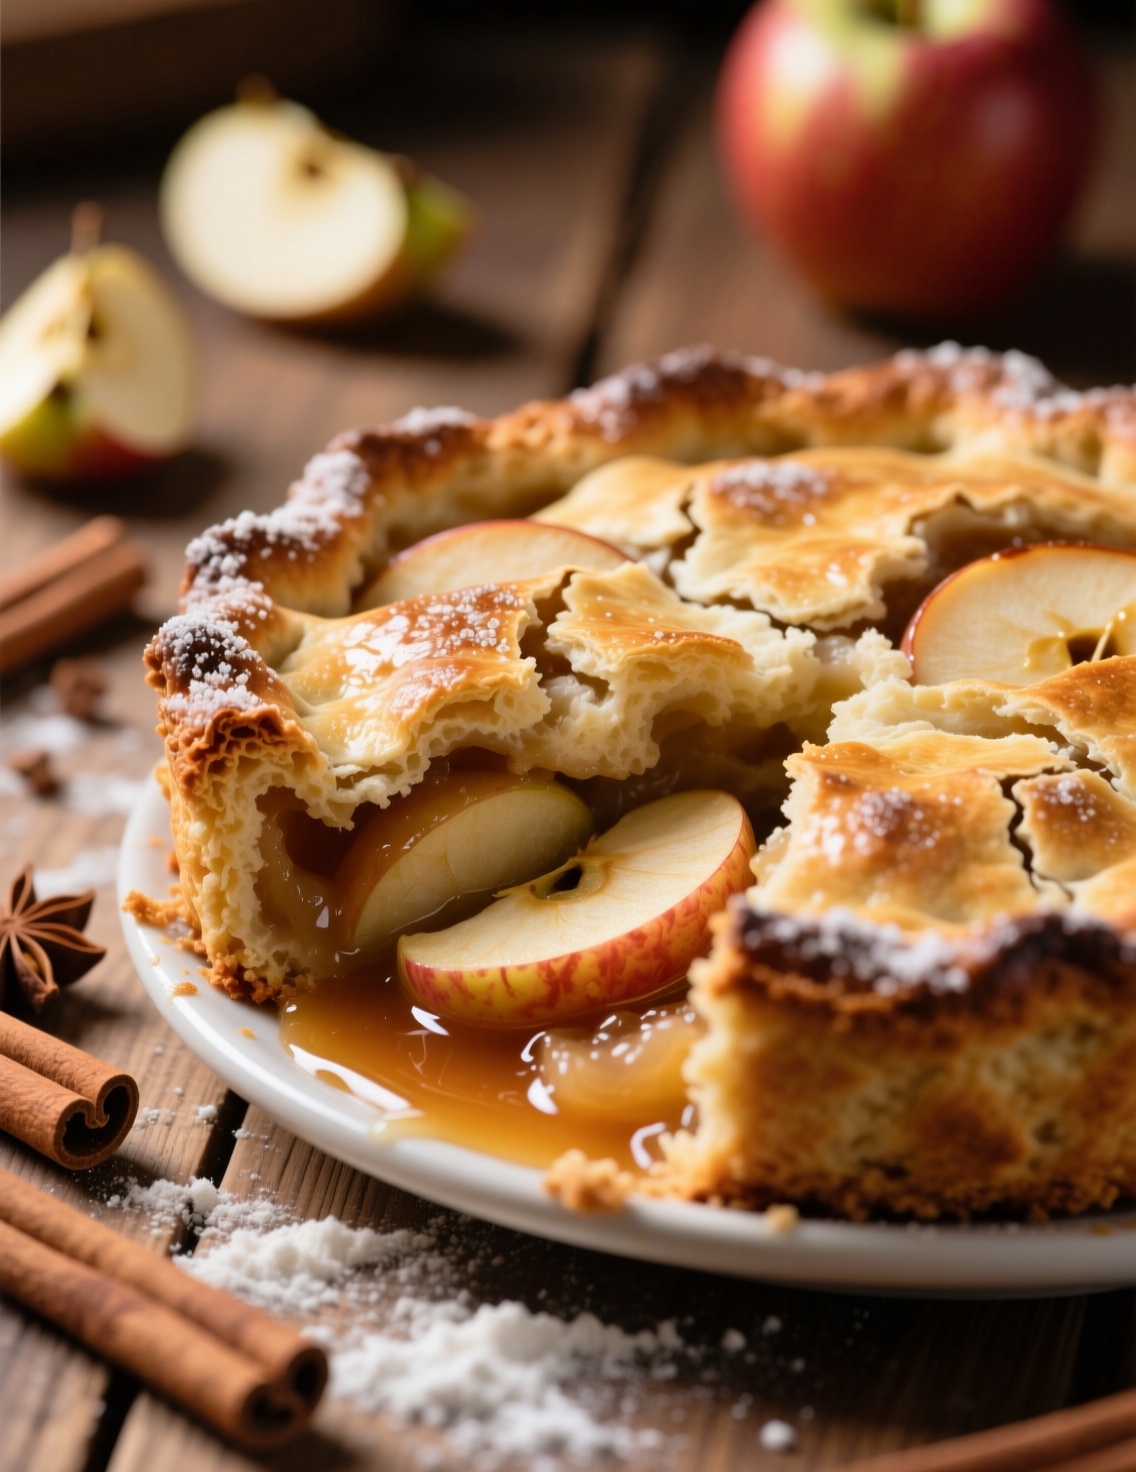
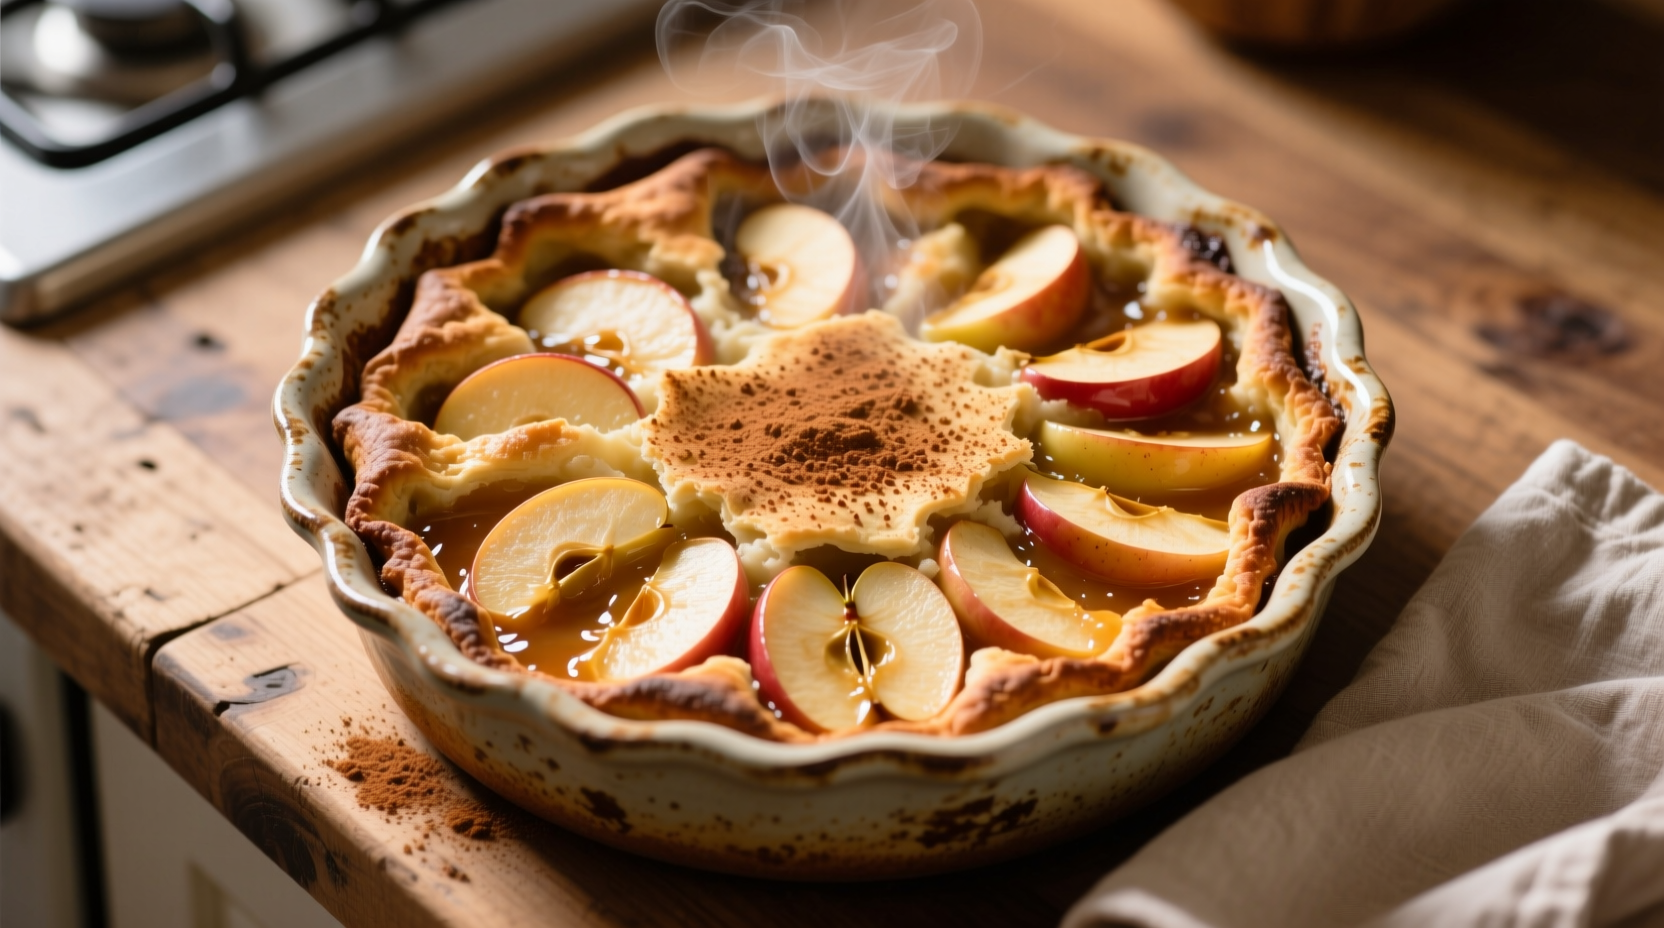
There’s something magical about homemade apple cobbler. The way tender apples meet a buttery, slightly crisp topping—it’s a dessert that’s both humble and decadent. For six servings, it’s a perfect balance: enough for a family dinner, a small gathering, or even for indulgent leftovers. Today, we’ll dive deep into creating a cobbler that’s not just edible, but exceptional—layering technical insight, expert tips, and culinary wisdom that elevates a simple dessert into something memorable.
Understanding Apple Cobbler: Beyond the Basics
Apple cobbler is often mistaken for a pie. But while a pie demands a precise crust, a cobbler thrives on simplicity and rustic charm. The fruit filling is crucial—it’s what sets the stage. According to USDA data, apples contain around 13–15% natural sugars and 2–3% pectin. This naturally influences the thickening behavior during baking. That’s why choosing the right apple variety isn’t just a suggestion—it’s a technical step in ensuring the cobbler has the correct consistency and flavor profile.
Many chefs recommend a blend of tart and sweet apples. Granny Smiths for tartness and firm texture, combined with Honeycrisp or Fuji for a sweeter, juicy component, create balance. Overly soft apples like McIntosh can turn mushy, and overly sweet types like Gala may flatten the flavor. And yes, peel or no peel—it’s a matter of texture preference. Leaving the skin on introduces a slight chew and earthy aroma, while peeling ensures smoothness in the filling.
Ingredients: Precision Meets Flavor
For six servings, accuracy in ingredients is key. Here’s a detailed breakdown:
Filling:
- 6 medium apples (about 2 pounds), peeled, cored, and sliced evenly
- ½ cup granulated sugar
- ¼ cup brown sugar, packed for depth
- 1 tsp cinnamon, freshly ground
- ¼ tsp nutmeg, optional but recommended
- 1 tbsp lemon juice to balance sweetness
- 2 tbsp all-purpose flour or cornstarch for thickening
Topping:
- 1 cup all-purpose flour
- 1 cup granulated sugar
- ½ cup unsalted butter, chilled and cubed
- 1 tsp baking powder
- ¼ tsp salt
- 1 cup milk, preferably whole or 2% for richness
Notice the dual sugars in the filling. Granulated sugar enhances natural apple flavor, while brown sugar adds molasses-like depth. Even minor adjustments here change caramelization patterns. And chilling the butter for the topping? Crucial. Butter at room temperature will blend too smoothly, resulting in a dense topping rather than the ideal lightly crisp texture.

The Science Behind the Cobbler
Baking is chemistry in action. When the apples heat up, their sugars begin caramelizing around 320°F (160°C). The added flour or cornstarch gelatinizes with released apple juices, creating a thick, luscious syrup. Meanwhile, the topping undergoes Maillard reactions, browning and developing nutty, complex flavors. Experts sometimes add a pinch of salt to the topping—not for taste, but to amplify sweetness and depth.
A common mistake is underbaking or overbaking. If the cobbler is removed too soon, the topping is doughy and the filling overly liquid. Too long, and the sugars may burn while apples dry out. For six servings, a 350°F (175°C) oven, 45–50 minutes, is optimal. Covering loosely with foil halfway prevents excessive browning while allowing proper steam circulation.
Step-by-Step Preparation
Step 1: Prepare the Apples
Toss sliced apples with sugars, cinnamon, nutmeg, lemon juice, and flour. Spread evenly in a buttered 9×13 inch baking dish. For professionals, a layer technique can be effective: alternate apple slices with a sprinkle of sugar mixture. This ensures even caramelization and prevents clumping.
Step 2: Craft the Topping
Mix flour, sugar, baking powder, and salt in a bowl. Incorporate chilled butter using a pastry cutter or fingers until mixture resembles coarse crumbs. Adding milk gradually allows control over dough consistency—it should be thick but spoonable. Overly wet dough will absorb apple juices too much, turning mushy.
Step 3: Assemble
Spoon topping unevenly over the apples. The rustic, imperfect distribution allows the filling to peek through, enhancing both presentation and texture. Some professionals even lightly brush topping with milk or sprinkle sugar for additional caramelized sheen.
Step 4: Bake
Place cobbler in preheated oven at 350°F (175°C). Bake for 45–50 minutes. Check for bubbling juices and golden topping. Insert a toothpick in the topping; it should come out clean. Cooling slightly allows filling to thicken further.
Expert Tips and Tricks
- Apple Variety Experimentation: Try Braeburn or Jonagold for unique flavor layers. Each apple’s acid-sugar balance influences final taste.
- Spice Customization: Cardamom or ginger can elevate traditional cinnamon-nutmeg combinations. Use sparingly to avoid overpowering.
- Texture Variation: For extra crunch, fold finely chopped nuts like pecans or walnuts into the topping.
- Caramel Drizzle: A light caramel drizzle over the apples before topping adds a restaurant-quality finish.
Small tweaks in technique significantly alter outcomes. For instance, tossing apples in cornstarch versus flour affects both clarity of filling and consistency. Cornstarch provides a translucent, glossy syrup, while flour produces opaque, more rustic textures.
Serving and Presentation
Apple cobbler is versatile. Serve warm with vanilla ice cream, crème fraîche, or lightly whipped cream. Professionals sometimes dust lightly with powdered sugar for visual contrast. Portioning for six is straightforward: a spatula for uneven, generous wedges or a knife for precise slices.
Pro tip: spoon topping first, then apples, maintaining structure and appeal. A rustic crumble look appeals visually while showcasing the luscious filling underneath. Temperature matters too—allowing the cobbler to sit 10–15 minutes ensures flavor melding.
Common Questions and Misconceptions
Q: Can I make cobbler ahead of time?
Yes, prep apples and topping separately, store chilled up to 24 hours. Bake directly from refrigerator, adding a few extra minutes.
Q: What’s the difference between cobbler and crisp?
Crisp usually incorporates oats or nuts in the topping. Cobbler relies on biscuit-like topping. Resulting textures and flavor absorption differ subtly but noticeably.
Q: Can I use frozen apples?
Yes, but thaw and drain excess liquid to avoid soggy filling. Adjust thickening agents slightly to compensate for extra moisture.
Nutritional and Professional Considerations
A typical 6-serving cobbler has roughly 300–350 calories per portion, depending on apple type and topping sugar content. For professional kitchens, consider sugar reduction strategies: applesauce substitution or a sprinkle of brown sugar instead of granulated for reduced sweetness without compromising texture.
From a professional lens, balancing moisture, sugar, and topping structure is critical. Using a metal versus glass baking dish alters heat conduction: metal accelerates browning while glass maintains gentle, even cooking. These subtleties affect both texture and flavor perception.

Emerging Trends in Apple Cobbler
Modern chefs are experimenting with:
- Alcohol Infusions: Adding a splash of Calvados, rum, or brandy enhances aromatic depth.
- Savory Accents: Rosemary or thyme in topping for an herbal twist.
- Gluten-Free Variations: Almond or oat flour can replace traditional flour while maintaining crumble texture.
These trends reflect broader culinary movements emphasizing experimentation and multi-sensory dining. Apple cobbler, traditionally simple, is increasingly seen as a platform for professional creativity.
Troubleshooting Common Issues
- Soggy Topping: Likely from overly wet apples or insufficient flour in topping. Adjust accordingly.
- Undercooked Filling: Apples may be too large or under-ripe; slice uniformly.
- Burnt Topping: Cover with foil mid-bake and check oven calibration; small temperature deviations have outsized effects.
Understanding these issues from a scientific and practical perspective separates a home cook from a professional. Precision, not just intuition, drives consistent excellence.
Conclusion: Elevating a Classic
A homemade apple cobbler for six servings is more than a dessert—it’s a study in texture, flavor layering, and baking precision. By selecting the right apples, balancing sugars, crafting a perfect topping, and employing professional techniques, you can elevate this rustic dish to a memorable culinary experience.
Remember: small details matter. Chilled butter, spice ratios, oven calibration, and layering technique transform a good cobbler into a standout dessert. Serve warm, pair thoughtfully, and embrace the slight imperfections—they’re what make homemade cobbler authentic.
Whether in a professional kitchen or home setting, this recipe demonstrates that mastery comes from both science and heart. Every bite should reflect intention, knowledge, and that unmistakable warmth only a truly well-crafted apple cobbler can deliver.
FAQs
What type of apples are best for this cobbler?
A mix of tart Granny Smith and sweet Honeycrisp or Fuji works best for balance.
Can I leave the apple skins on?
Yes, for texture and earthy flavor, but peeling gives a smoother filling.
Can I make it ahead of time?
Yes, prep apples and topping separately, store chilled up to 24 hours.
What’s the difference between cobbler and crisp?
Crisp has oats or nuts in topping; cobbler uses biscuit-like topping.
Can I use frozen apples?
Yes, thaw and drain excess liquid to avoid soggy filling.
How do I prevent a soggy topping?
Use chilled butter and control liquid in apples; flour in topping helps.
How long should I bake it?
Bake at 350°F (175°C) for 45–50 minutes until bubbly and golden.
Can I reduce sugar without losing texture?
Yes, substitute part of granulated sugar with applesauce or brown sugar.
Can I add alcohol or herbs?
Yes, Calvados, rum, or herbs like rosemary add depth and complexity.
How should I serve it?
Serve warm with ice cream, whipped cream, or lightly dusted with powdered sugar.

Mariana is a passionate home cook who creates delicious, easy-to-follow recipes for busy people. From energizing breakfasts to satisfying dinners and indulgent desserts, her dishes are designed to fuel both your body and hustle.
When she’s not in the kitchen, she’s exploring new flavors and dreaming up her next recipe to share with the Foodie Hustle community.

