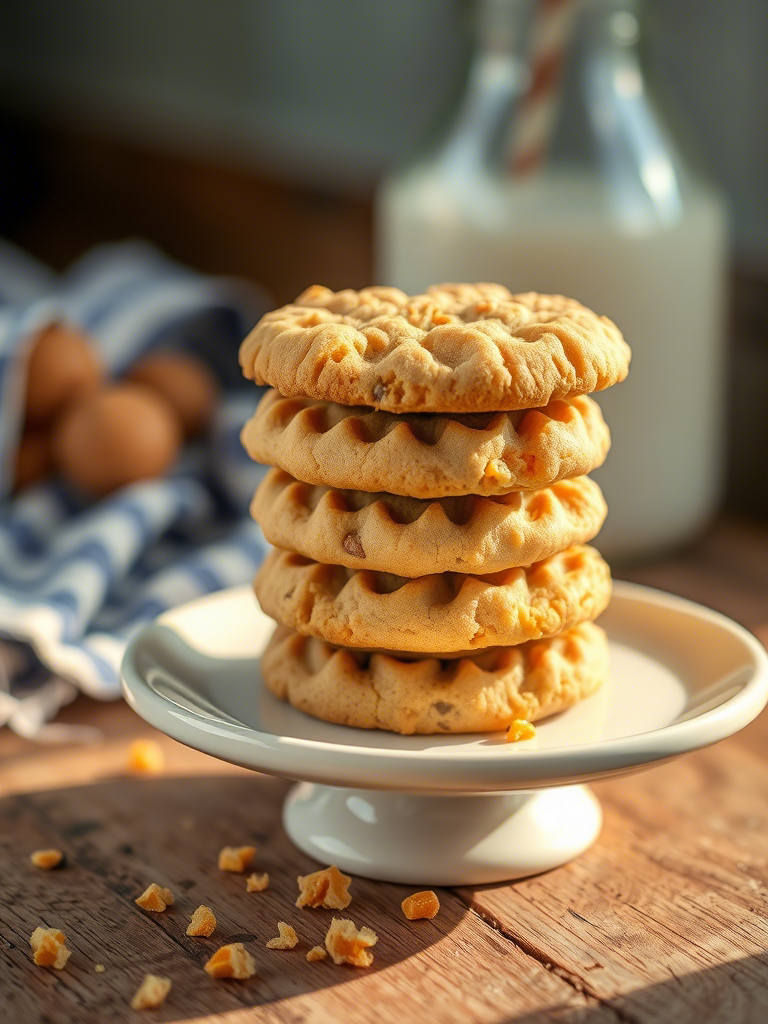
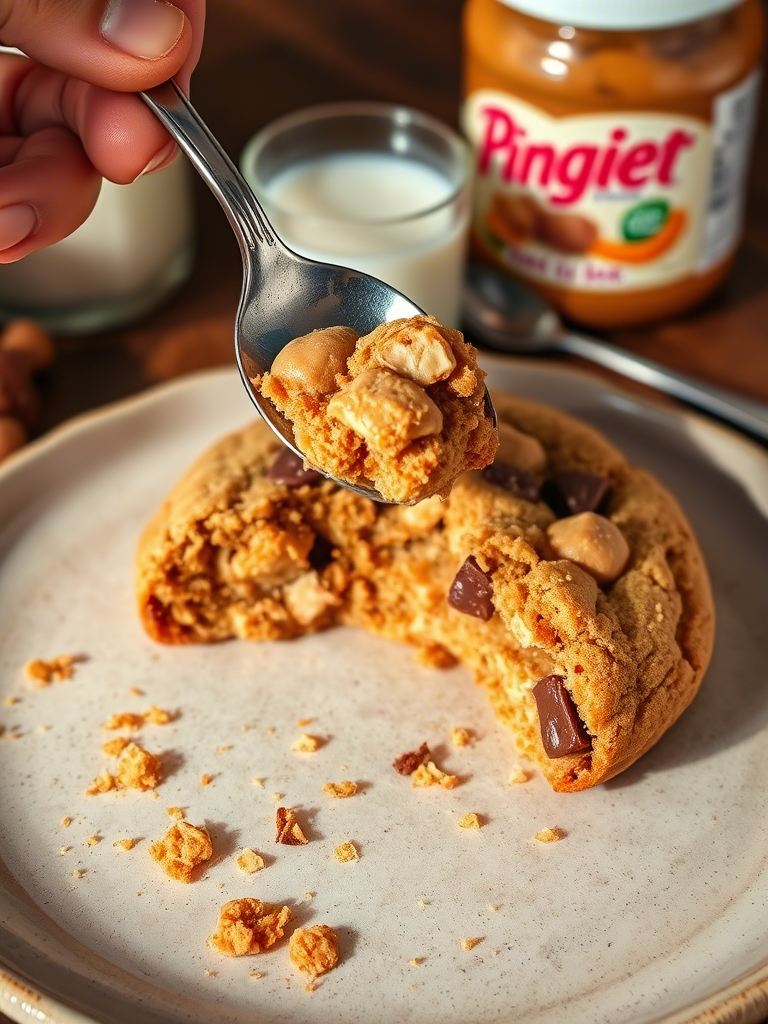
Whoever said too much of a good thing is bad clearly never had Peanut Butter Butterfinger Cookies. This recipe doesn’t just flirt with indulgence—it marries it. Sweet, salty, crispy, chewy, nutty—these cookies know exactly what they’re doing. They’re a loud, crunchy conversation between old-school peanut butter nostalgia and the shameless candy bar crush you still won’t admit out loud.
This isn’t your average “mash some stuff in a bowl” cookie. It’s engineered chaos. Peanut butter’s creamy intensity gets a wild spike of jagged Butterfinger shards. And no, we’re not just tossing the candy in as an afterthought—this cookie’s entire personality hinges on how we introduce it. If you’re serious about texture, chew, and flavor depth, keep reading. You’re in expert kitchen territory now.
The Science of the Cookie: Fat, Sugar, and Crunch
Cookies, in their simplest form, are about balance. Fat tenderizes. Sugar caramelizes. Eggs bind. But here’s the catch—when you add peanut butter and candy to the mix, your ratios start acting funny. Peanut butter adds both fat and protein. Butterfinger? That’s sugar plus fat plus crunch, all in one unpredictable shard.
To get the texture right—just barely crisp edges and a molten center—you’ve gotta understand what each ingredient is doing in your dough.
Peanut butter, especially the creamy processed kind, reduces spread. Natural peanut butter will split your dough if it ain’t stabilized. Butterfinger adds both chew and unexpected crunch because of the layered toffee inside. If you crush it too fine, it melts into caramelized sugar pockets. Leave it too chunky, and you’ll get bitter, burned bits. The sweet spot is about the size of a pea. Irregular, but not chaotic.
Pro tip: Freeze the chopped Butterfinger bits for 10 minutes before folding into dough. It prevents melting during mixing and keeps the candy’s structure intact when baked.
Ingredients Matter: Not All Peanut Butters Are Created Equal
Here’s where most folks screw this up. They reach for whatever’s in the pantry. But that jar of “natural peanut butter with oil on top”? Nope. That’s not gonna cut it.
You need emulsified peanut butter—think Skippy or Jif. Why? Consistency. Natural peanut butter separates, and that messes with your dough’s fat content. Too much oil = greasy, flat cookies. Too little? Dry, tough pucks. No thanks.
And butter? Use unsalted. Always. Salted butter’s sodium content varies by brand, and if you’re using Butterfinger (which is already salty-sweet), you’re walking a tightrope with balance. Control your salt. Don’t gamble it.
For sugar, use both brown and white. Brown sugar brings moisture and chew. White sugar delivers spread and crunch. I like a 60/40 ratio leaning toward brown. It hugs the peanut butter better.
Here’s a tight version of the ingredient list professionals will respect:
- 1 cup creamy emulsified peanut butter
- ½ cup unsalted butter, softened
- ⅔ cup packed brown sugar
- ⅓ cup white granulated sugar
- 1 large egg + 1 egg yolk
- 1 tsp vanilla extract (real, not that fake vanilla-flavored nonsense)
- 1 ½ cups all-purpose flour (sifted, always sifted)
- ½ tsp baking soda
- ½ tsp salt
- 1 ¼ cups crushed Butterfinger pieces (lightly frozen)
Optional: A pinch of flaky salt for finishing. Makes the peanut butter pop harder.

Technique: Why Mixing Order Ain’t Just for Fun
Order matters more than folks realize. You ever had cookies with greasy pools at the bottom? That’s lazy mixing.
Cream the butter and sugars first. Beat them until it’s fluffy like peanut butter mousse—takes about 3 minutes on medium speed. Add peanut butter and beat another 30 seconds. Not more. Overmixing here makes the dough too loose.
Add eggs one at a time. Let each incorporate fully. Don’t rush. Vanilla comes last in the wet mix—it blooms better once fats and eggs are already mingling.
Dry stuff gets sifted in separately. Don’t dump it all at once. Fold it gently. This ain’t bread dough—you’re not trying to build gluten. Overworking flour makes a tough cookie.
Then fold in the Butterfinger bits with a spatula. Don’t use a mixer at this point. That blade will obliterate your candy. And nobody wants Butterfinger dust in their cookies.
Chill or Not? Let’s Talk Dough Discipline
You can bake these cookies right away. But should you? Not really.
Resting your dough for at least 30 minutes (ideally overnight) does two key things:
- Hydrates the flour, giving you better structure.
- Lets the flavors deepen. Peanut butter + candy bars + time = magic.
Also, chilled dough spreads less. Which means thicker, chewier centers. If you’re after thin, crispy cookies, go straight from bowl to oven. But if you’re playing the long game, wrap that dough and give it a nap in the fridge.
Bake Like You Mean It
Preheat your oven to 350°F (175°C). No compromise here. Cold ovens bake sad cookies.
Line baking sheets with parchment—not silicone mats. Parchment breathes better and helps with browning.
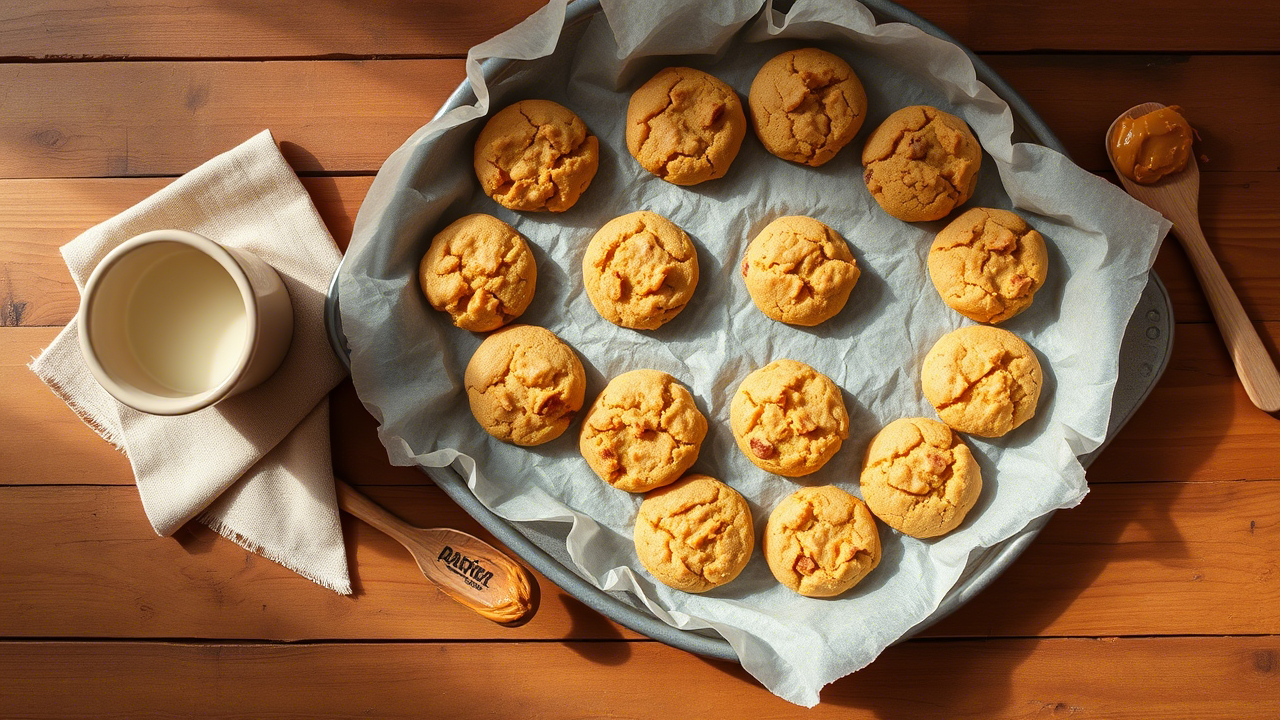
Scoop your dough into 2-tablespoon balls. Space ’em out—these babies do spread. I use a cookie scoop for consistency, but if you’re old-school with a spoon, just eyeball it even.
Bake for 9–11 minutes. Edges should just start browning. Centers will look soft and underdone. That’s the point. Pull them. They’ll set as they cool.
Do not overbake. I don’t care if they look too soft. That’s just fear talking.
Cool on sheet for 5 minutes. Then transfer to wire rack.
Storage Secrets: Keep the Crunch, Ditch the Stale
Stored wrong, these cookies lose their soul fast. Butterfinger doesn’t hold well with moisture—it gets gummy.
Keep ’em in an airtight tin or glass container with a slice of bread inside. Yeah, I said bread. It keeps cookies soft without making the candy soggy. Old baker’s trick. Works like a charm.
Want that fresh-baked vibe a few days later? Toss a cookie in the microwave for 8 seconds. Not 10. Eight. Just enough to warm the center without melting the candy.
They also freeze beautifully—raw or baked. Just flash-freeze the scooped dough balls, toss in a zip bag, and bake from frozen. Add 1 extra minute to bake time. Done.

Variations for the Adventurous
Peanut butter and Butterfinger already go hard together. But here’s where you can riff.
- Add chocolate chips. Dark chocolate works best. Adds contrast. Not too sweet.
- Swirl in Nutella. Just a tablespoon folded into the dough. Don’t overmix. Creates gooey pockets.
- Use crunchy peanut butter. For extra texture, if you’re into the double-crunch vibe.
- Drizzle with melted chocolate post-bake. Gives them that fancy bakery finish.
- Brown the butter first. Adds a nutty depth. Just cool it before mixing with sugars.
If you’re really wild? Add crushed pretzels. Salty, sweet, crunchy chaos. Controlled chaos.
Common Mistakes (And How To Not Look Like a Rookie)
- Using natural peanut butter. We’ve talked about this. Just don’t.
- Melting your Butterfinger. Add it last. Freeze it. Be gentle.
- Overmixing the dough. You’re making cookies, not concrete.
- Overbaking. Seriously. Pull them when they look too soft. They’ll firm up.
- Storing them hot. Let ’em cool completely. Trapped steam ruins everything.
Data Check: Why This Combo Works
According to a 2023 baking trend survey by King Arthur Baking Company, peanut butter-based cookies ranked second only to classic chocolate chip in American home kitchens. And 43% of surveyed bakers listed Butterfinger as their preferred mix-in candy bar—outranking Snickers and M&Ms.
What’s that tell you? This combo isn’t just craveable—it’s strategic.
Final Thoughts from the Bench
Peanut Butter Butterfinger Cookies aren’t subtle. They weren’t designed to be. They walk into the room wearing loud shoes and double eyeliner, and you love them for it.
They’re a masterclass in contrast—soft vs. crunchy, sweet vs. salty, smooth vs. jagged. And when done right, they don’t just satisfy a craving… they leave a lasting impression.
So next time someone says they’re “just cookies,” hand them one of these and watch their whole worldview shift.
Actionable Recommendations for the Pros
- Use high-quality emulsified peanut butter. Invest in the good stuff. It shows.
- Control your candy integration. Freeze, chop, fold. Respect the Butterfinger.
- Test batch before scaling. Always run a small bake if you’re adapting for commercial production.
- Play with texture variations. Browned butter, chocolate drizzles, pretzel bits—these are your signature moves.
- Keep it weird. Cookie recipes that go viral are never boring. Make yours unforgettable.
Because, in the end, if your cookies don’t make someone pause mid-bite and whisper “what is in this?”, you’re not baking bold enough.
FAQs
What type of peanut butter works best for these cookies?
Use creamy, emulsified peanut butter like Jif or Skippy—not natural or oily varieties.
Can I substitute Butterfinger with another candy bar?
Yes, but Butterfinger’s unique crunch and peanutty toffee flavor is hard to replicate.
Do I have to chill the dough before baking?
It’s optional, but chilling improves texture and deepens flavor.
How should I store these cookies to keep them fresh?
Store in an airtight container with a slice of bread to retain moisture.
Can I freeze the dough?
Yes—freeze dough balls and bake straight from frozen, adding 1 extra minute to bake time.
Why did my cookies turn out greasy or flat?
Likely due to using natural peanut butter or overmixing the dough.
How do I prevent the Butterfinger pieces from melting during baking?
Freeze the chopped candy for 10 minutes before folding into the dough.
Can I make these cookies gluten-free?
Yes—use a 1:1 gluten-free flour blend, but expect slightly different texture.
How long should I bake the cookies?
Bake at 350°F for 9–11 minutes, pulling them when the edges are golden but centers look soft.
Should I use parchment paper or silicone mats for baking?
Parchment is preferred—it helps with even browning and better texture.

Mariana is a passionate home cook who creates delicious, easy-to-follow recipes for busy people. From energizing breakfasts to satisfying dinners and indulgent desserts, her dishes are designed to fuel both your body and hustle.
When she’s not in the kitchen, she’s exploring new flavors and dreaming up her next recipe to share with the Foodie Hustle community.

