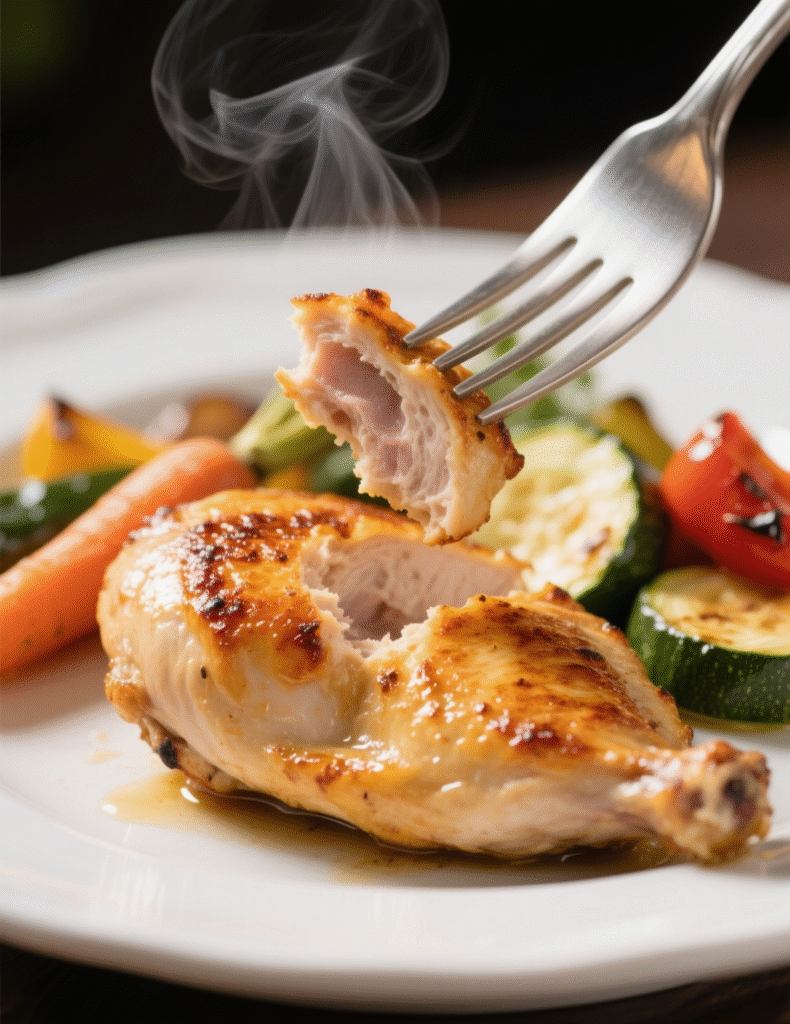
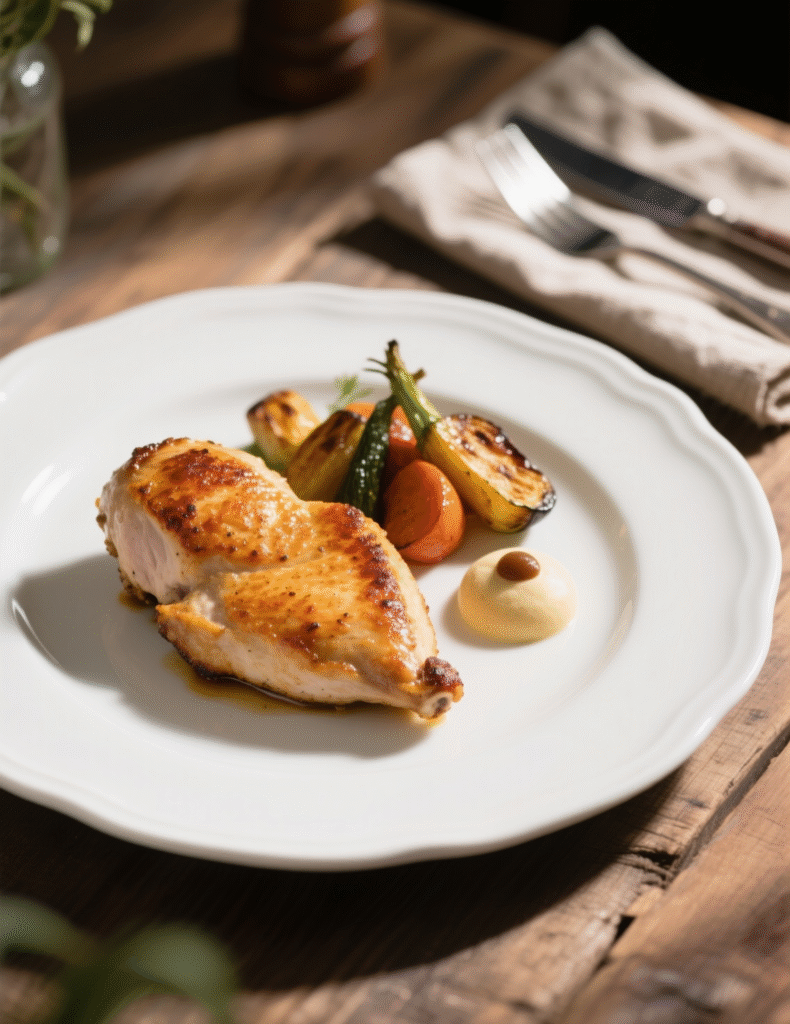
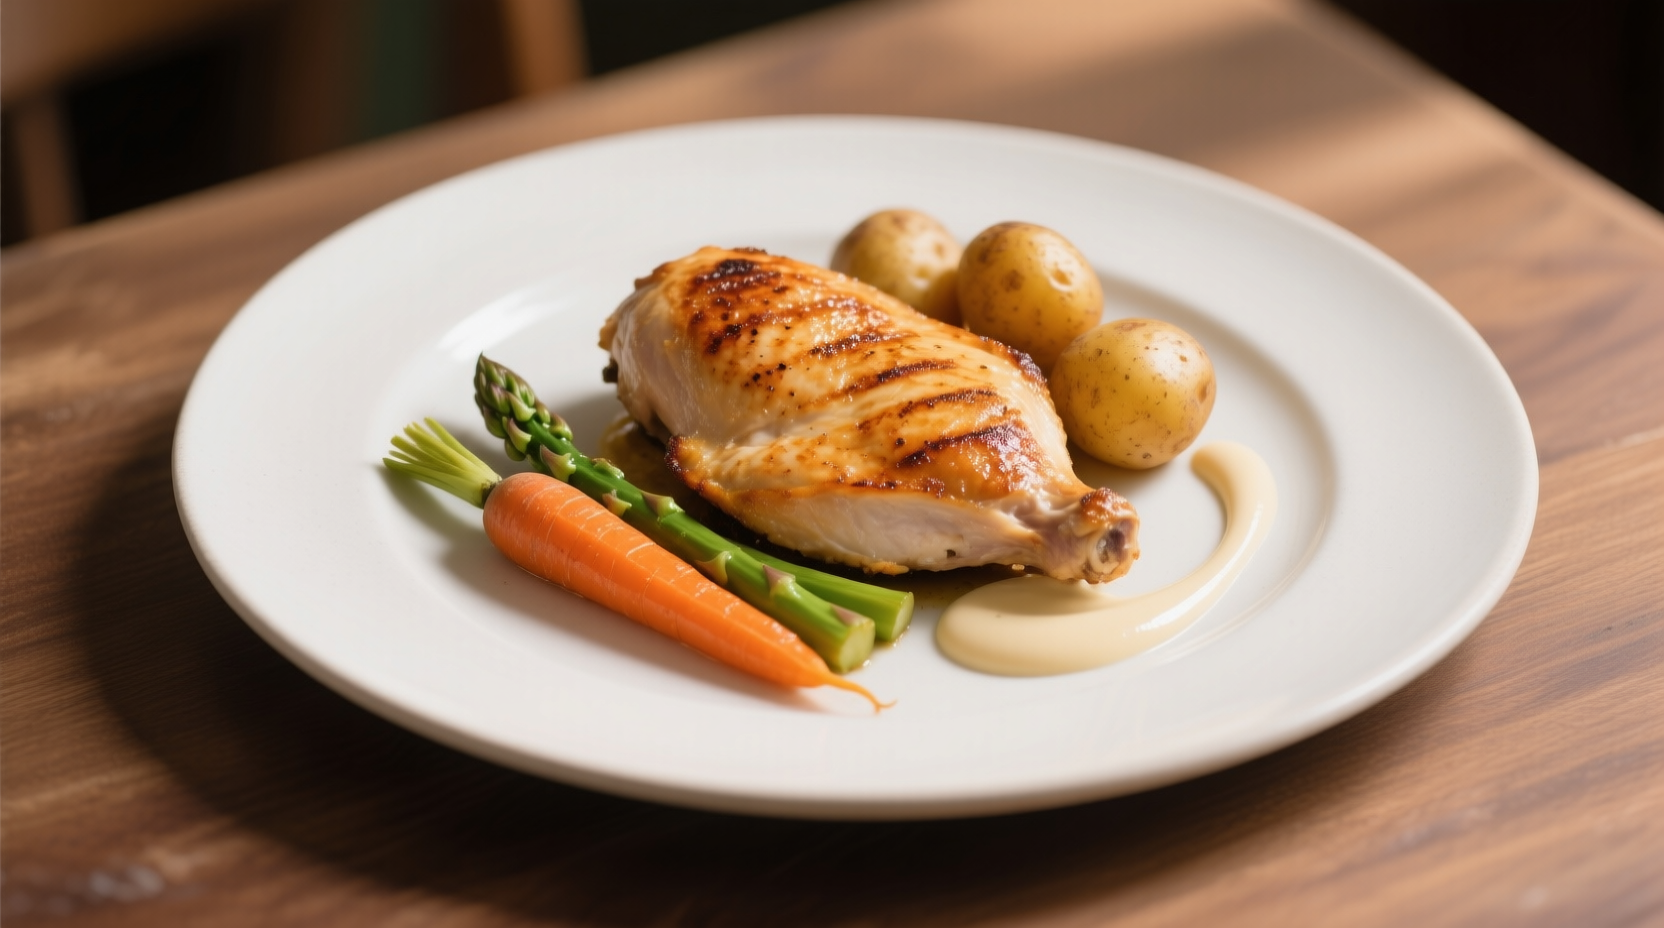
The smell of a perfectly seared chicken breast hitting the pan is enough to stop time. That golden crust, the sizzling edges, and the promise of juicy meat—it feels almost too simple, yet few home cooks or even some pros nail it consistently. Today, we’ll break this down to the last detail, no fluff, just pure cooking craft. This isn’t about tossing chicken in a pan. It’s about control, science, and a little bit of instinct.
Why Pan-Seared Chicken Breast Matters
Chicken breast is notorious. Lean, delicate, and unforgiving if mishandled. One minute too long, and you’ve got rubbery sadness on the plate. The USDA tells us chicken needs to reach 165°F to be safe, but pros know the real trick lies in managing carryover cooking and moisture retention.
It’s also about versatility. A well-executed pan-seared breast becomes the backbone of countless dishes—think salads, pasta, grain bowls, or just a solo hero with a bright sauce. The technique is universal, but the devil hides in the tiny details: pan choice, fat type, and heat control.
The Science of the Perfect Sear
Searing isn’t about “locking in juices.” That’s a myth chefs love to hate. What’s really happening is the Maillard reaction—a cascade of chemical changes between amino acids and sugars triggered around 300°F. That’s where you get that deep, nutty, roasted flavor.
Moisture is the enemy here. A wet chicken breast steams instead of sears. That’s why every serious cook pats their chicken dry with paper towels and even lets it air-dry uncovered in the fridge for 30 minutes before cooking. Sounds like overkill, but it’s not.
Choosing the Right Pan
Not every pan is born equal. Stainless steel offers the best sear because it builds fond—the browned bits stuck to the pan that later become sauce gold. Cast iron, though, wins for steady heat and crust formation. Nonstick? Don’t even try; it cheats the crust.
A 10-inch pan works best for two breasts. Overcrowding lowers surface temperature, leading to pale meat. Professional kitchens know this—heat is currency, and you never spend it too quickly.
Seasoning That Actually Matters
Salt is more than flavor; it’s chemistry. Salting 40 minutes before cooking draws out surface moisture, then reabsorbs it, seasoning deeper. A pinch of sugar in the rub also speeds browning—something pros slip in without telling. Black pepper? Add after cooking. Heat dulls its punch and leaves bitter notes.
For a classic, keep it simple: kosher salt, maybe a dust of smoked paprika. But when pushing flavor, ground coriander, garlic powder, or even a dash of cumin can transform the profile without complicating the method.
The Oil Dilemma
High smoke point oils are your friend. Avocado, grapeseed, or refined sunflower oils perform best. Butter alone burns too quick, though a butter finish at the last minute adds unmatched richness and aroma. Professionals often start with oil, finish with butter—this creates depth while avoiding bitterness.
Olive oil? Only if you’re after a gentler sear and lower heat. Otherwise, save that bottle for drizzling later.

Step-by-Step Technique That Never Fails
Step 1: Prep the Chicken
Pound the breast to even thickness, around ¾ inch. Uneven meat cooks unevenly, and you don’t want one side dry as paper. Trim excess fat or tendon that can tighten and curl in heat.
Step 2: Heat the Pan Properly
Medium-high heat, pan preheated for at least 3 minutes. A drop of water should sizzle and vanish on contact. Too cold, and the chicken sticks. Too hot, and you’ll char outside before inside cooks.
Step 3: Lay It Down Right
Place chicken away from you, gently, to avoid splatter. Don’t move it. That first 3–4 minutes is sacred; the crust forms during stillness. Resist the urge to poke or peek.
Step 4: Flip with Purpose
Flip once, not five times. Another 3–5 minutes, depending on thickness. Internal temperature should read around 160°F before resting. Carryover heat brings it to the safe 165°F.
Step 5: Butter Baste (Optional but Perfect)
In the last minute, toss in 2 tablespoons butter, smashed garlic, and a sprig of thyme or rosemary. Tilt the pan, spoon the foaming butter over the chicken. This is technique theater, but also flavor magic.
Common Mistakes and Fixes
Overcooking: The number one killer. Always rely on a meat thermometer. Professional kitchens never guess—they measure.
Crowding the Pan: Lowers heat, weakens sear. Cook in batches if needed.
Not Resting Meat: Always rest for 5 minutes. Skipping this bleeds out juices, leaving dry meat.
Wrong Heat: Medium heat won’t cut it. High heat scorches. Medium-high is the sweet spot.
Professional Insights: Timing and Precision
Restaurants handle consistency through systems. Each breast is cooked to a strict window, often 7–8 minutes total, depending on size. Sous vide methods at 145°F for an hour followed by a quick sear are also common in fine dining kitchens. It guarantees juiciness, but purists argue pan-sear alone teaches skill and intuition.
A 2019 study published in Food Research International confirmed that pre-salting meat improves water-holding capacity. Another, from the Journal of Food Science, showed that butter-basting enhances aroma compounds without compromising texture. These are not kitchen myths—they’re backed by data.

Variations Worth Exploring
Mediterranean Twist
Season with oregano, garlic, and lemon zest. Finish with a drizzle of olive oil and fresh parsley.
Spicy Cajun Style
Rub with smoked paprika, cayenne, and onion powder. Finish with a squeeze of lime.
Asian-Inspired Glaze
Sear plain, then deglaze with soy sauce, ginger, and honey. Sticky, savory, perfect over rice.
Creamy Pan Sauce
Use the fond. Deglaze with white wine, whisk in cream, reduce until nappe consistency. Pour over sliced chicken for a restaurant-level dish.
Addressing Misconceptions
One of the biggest misconceptions is that chicken breast is boring. It’s not. It’s neutral. That neutrality makes it the ultimate canvas for flavors. Another myth: thicker breasts are juicier. Wrong again. Thickness just means you need better technique or a pounding mallet.
Some say pan-searing is messy. It can be. But using a splatter guard or shallow-sided cast iron keeps control. The reward outweighs the cleanup, every time.
Emerging Trends in Cooking Chicken
Air fryers have disrupted pan-searing. They mimic crisping but lack the same depth of crust because Maillard reactions in a closed chamber are less aggressive. Pressure frying, like KFC does, remains unique to industrial kitchens. But pan-searing persists in professional kitchens because it gives speed, control, and artistry.
Chefs also experiment with brining—5% salt solution for 30 minutes—to boost juiciness. Dry brining is gaining more traction, though, because it avoids the diluted flavor wet brining can cause.
Nutritional Insight
A 4-ounce pan-seared chicken breast, cooked without added heavy fats, delivers about 165 calories, 31 grams protein, and just 3.6 grams fat. It’s lean, efficient fuel, making it a cornerstone in athlete and medical diets. However, adding butter basting ups fat slightly, which most pros consider a worthy tradeoff for flavor.
Conclusion: Why This Technique Matters
Perfect pan-seared chicken breast isn’t just a recipe—it’s a test of skill. It teaches control of heat, timing, and flavor layering. The steps are simple, but mastery is in repetition. Professionals know: if you can cook chicken breast flawlessly, you can cook almost anything.
So the next time you hear that hiss in the pan, remember it’s not just dinner—it’s discipline, craft, and flavor in one golden, juicy bite.
FAQs
How do I keep chicken breast juicy when pan-searing?
Cook to 160°F and let it rest, carryover heat finishes it without drying.
Should I pound chicken breast before cooking?
Yes, even thickness ensures uniform cooking and prevents dry edges.
What’s the best oil for pan-searing chicken breast?
Use high smoke point oils like avocado or grapeseed, finish with butter for flavor.
Can I use nonstick pans for searing?
Technically yes, but you won’t get the same crust or fond for sauces.
Why should I rest chicken after cooking?
Resting 5 minutes allows juices to redistribute, keeping meat moist.
Do I need to brine chicken breast before searing?
Not always, but dry brining with salt improves flavor and texture noticeably.
How long does it take to pan-sear chicken breast?
Usually 7–8 minutes total depending on thickness.
Should I season before or after cooking?
Salt before cooking, but add pepper after to avoid bitterness.
Can I make a sauce in the same pan?
Yes, deglaze the fond with wine, broth, or cream for a rich sauce.
Is pan-seared chicken breast healthy?
Yes, it’s lean, high in protein, and low in fat unless butter-heavy.

Mariana is a passionate home cook who creates delicious, easy-to-follow recipes for busy people. From energizing breakfasts to satisfying dinners and indulgent desserts, her dishes are designed to fuel both your body and hustle.
When she’s not in the kitchen, she’s exploring new flavors and dreaming up her next recipe to share with the Foodie Hustle community.

