
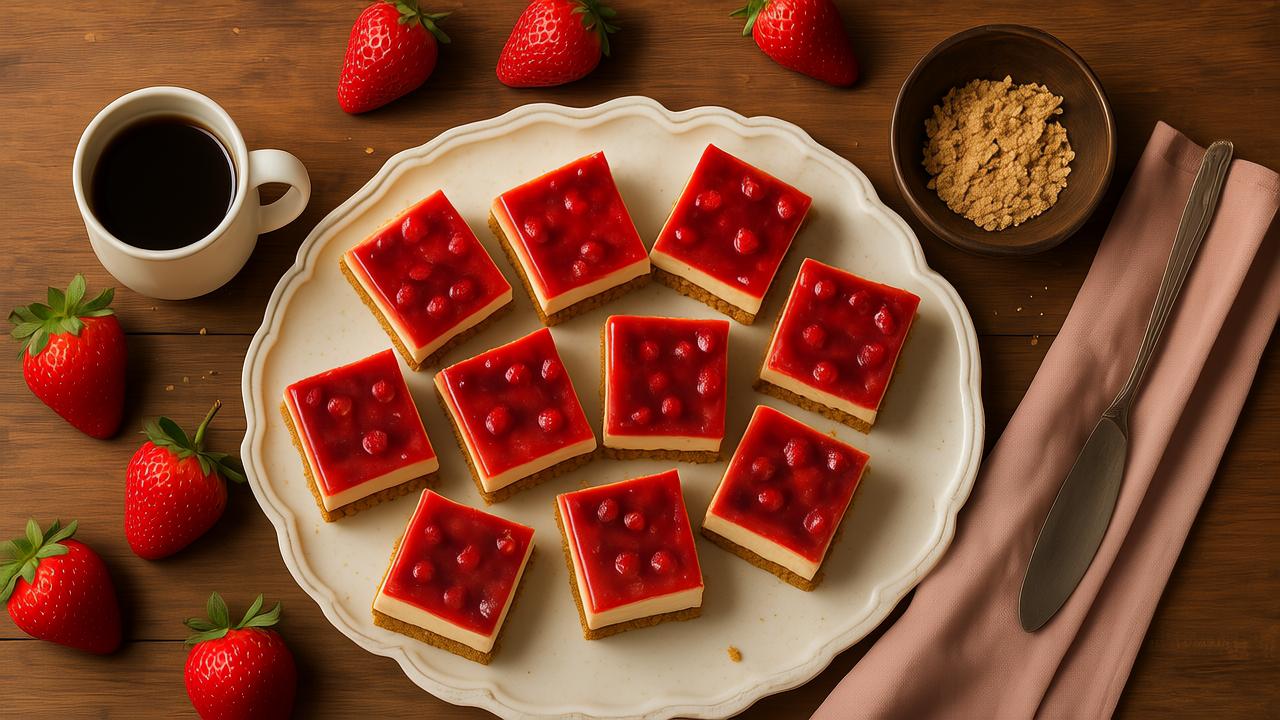
It starts with a bite. Not the polite one. The greedy, too-big, barely-chewed kind. Crumbly graham crust giving way to cool, tangy cream cheese and a slick, jammy strawberry ribbon. That’s the moment people stop pretending to be dainty. They reach for another bar, and yeah—now they’re using both hands.
Strawberry cheesecake bars aren’t just a dessert. They’re a layered story. They bridge comfort and technique, sweet tooth and balance, memory and mastery. But baking them right? That takes more than a recipe. It takes understanding.
Let’s dig into what makes them unforgettable—and how you, the serious culinary mind, can push them beyond the standard bake sale square.
Why Strawberry Cheesecake Bars Are Not “Just Another Dessert”
At first glance, they’re deceptively simple. But these bars have layers—literally and figuratively. Each layer carries its own science, its own challenge.
The base? A crust that must hold structure but still yield under a fork.
The middle? A custard-meets-cream-cheese body that has to bake slow, cool slower, and never split.
The top? Strawberries that must sing. Not just sit there and look red.
There’s also texture balance. It ain’t a bar if it crumbles into a sad, sweet sandpile. You want clean slices, straight edges, and a taste that punches before the sugar fatigue sets in.
The Crust: Where Most People Mess Up
Graham cracker crusts are where ego goes to die. Professionals often underestimate them. They either go too thin (a soggy, sad base) or too thick (like chewing a granola bar under cheesecake).
Here’s what actually works:
- Cracker to butter ratio: 2 cups crumbs to 6 tbsp melted butter. No shortcuts.
- Sugar? Optional. If you’re using sweetened crackers, maybe skip the added sugar. If not, add 1.5 tbsp superfine sugar—not granulated.
- Prebake: 10 mins at 350°F. Let it cool fully before the filling goes in.
Tip: Add a tablespoon of toasted almond flour. Adds dimension. People won’t know why it’s better. But they’ll taste it.
The Filling: It’s a Custard, Not a Cheeseball
You need silky, not rubbery. Tangy, not cloying. That requires both ingredient discipline and temp control.
Your base mix:
- 16 oz cream cheese, full-fat, room temp.
- 1/2 cup sour cream (yep, adds that cultured bite).
- 2/3 cup sugar.
- 2 large eggs.
- 2 tsp vanilla.
- Zest of half a lemon.
Beat the cream cheese alone first. Just 45 seconds to knock the lumps out. Then add sugar. Then eggs, one at a time. Sour cream and vanilla go last. Lemon zest only if you’re confident the berries are sweet enough to handle it.
Never overbeat. Air is your enemy. Air pockets lead to cracks. And cracks make bars look homemade in the wrong way.
Bake at 325°F until just set. Don’t poke it. Just jiggle the pan—edges firm, center with a gentle wobble. Think of it like Jell-O on its second day in the fridge.
Strawberry Topping: Not an Afterthought, Not a Garnish
This is where most folks mess it up. They toss raw strawberries on top and call it “rustic.” But you’re better than that.
Fresh strawberries look nice. But cooked or macerated ones feel right.
Here’s the play:
- Cooked puree: 2 cups strawberries, 1/4 cup sugar, 1 tsp lemon juice. Simmer until thickened, about 10 mins. Cool completely.
- Swirl it pre-bake for a marbled effect. Or spread it post-bake for a glossy top coat.
If you want that photogenic swirl, dollop small spoonfuls of puree into the filling before baking. Use a toothpick or skewer to drag lines through it—don’t overdo it or it’ll look muddy.
Want to go fancy? Add a tiny pinch of balsamic in the puree. Just a drop. It makes the berries taste more like berries.
Texture Talk: Why You Chill it for 6+ Hours (Yes, Seriously)
Don’t serve these warm. Ever.
They need at least 6 hours in the fridge. Overnight is best. This allows fats to re-solidify and starches to bind moisture.
Also: cutting. Use a sharp chef’s knife. Not serrated. Wipe between every slice. Dip in hot water first if you’re being extra.
Clean slices equal professional presentation. Sloppy cuts are for brownies. Not here.
Let’s Talk Variations (That Aren’t Gimmicks)
Real pros know when to riff and when to respect the foundation.
A few smart twists:
Roasted Strawberry Topping
Roast halved strawberries at 375°F with a splash of maple and pinch of salt. They caramelize a bit, deepen in flavor. Use instead of puree.
Pretzel Crust
Replace half the graham crackers with crushed pretzels. Salty-sweet twist that surprises and delights. Don’t overcrush—texture matters.
Mascarpone Addition
Swap 1/3 of the cream cheese with mascarpone. Creamier, slightly sweeter, adds depth without going full tiramisu.
Herb Infusions
Infuse your strawberry compote with a sprig of thyme or basil. Steep it and remove. Adds a subtle, earthy finish.
Common Mistakes Pros Still Make
- Overmixing. Trust me, even experienced chefs forget and turn the filling into fluff. You’re not making meringue.
- Overbaking. If the top is puffing or cracking, it’s done for. Pull it when it still has a gentle jiggle.
- Undermixing crust. Dry spots = disaster. Press firmly, but not aggressively.
- Using low-fat cream cheese. This ain’t diet food. Use full-fat or don’t bother.
Stats Don’t Lie: Cheesecake’s Cultural Clout
According to a 2023 survey by the American Baking Association, cheesecake ranks as the #2 most requested dessert after chocolate cake in full-service restaurants. But—bars? They offer more versatility, better portion control, and easier plating.
That’s why you’re seeing them explode in upscale bakeries and catering gigs. Easy to transport. Easy to stylize. Easy to eat.
Answering the FAQs You Didn’t Know Were FAQs
Can you freeze them?
Yes—but only post-bake and pre-topping. Wrap in parchment then plastic. Thaw overnight in fridge. Add strawberries fresh.
Can you use frozen strawberries?
Sure—but cook them down more. They carry more water. Simmer longer, reduce to a jammy consistency.
Is gelatin necessary?
Not for baked bars. That’s a no-bake trick. If your cheesecake needs gelatin, something went sideways.
Can you scale this?
Absolutely. Use a quarter-sheet pan for catering-size batches. Triple the recipe. Bake longer—up to 50 mins.
A Note on Equipment
You don’t need a springform pan. You need a 9×9 or 8×8 square metal pan with straight edges. Metal conducts better than glass or ceramic—more even bake, cleaner bottom.
Line it with parchment with a few inches overhang. Acts like a sling. Your clean cuts will thank you.
Also: an offset spatula. Seriously. Not just for smoothing frosting. It’ll help swirl puree, spread crust, and lift slices like a pro.
Trending: Cheesecake Bars in Modern Plating
Watch what bakeries are doing on Instagram right now. No more plain squares. Think:
- Diagonal slices with microgreens.
- Mini stacked towers with strawberry glaze drips.
- Cheesecake “bento boxes” with dipping sauces.
Presentation matters. You’ve got the skills—so dress it up.
Final Thoughts: Why This Dessert Matters
Strawberry cheesecake bars are like the jazz standard of the dessert world. You don’t need to reinvent it—you just need to play it right. With soul. With intention.
Don’t chase gimmicks. Don’t dump white chocolate on it and call it elevated. Instead, refine the fundamentals. Balance the sugar. Temper the acid. Let texture lead.
Because when someone takes that first bite and forgets to breathe? That’s not just a dessert. That’s craft.
And that’s what you do.

Mariana is a passionate home cook who creates delicious, easy-to-follow recipes for busy people. From energizing breakfasts to satisfying dinners and indulgent desserts, her dishes are designed to fuel both your body and hustle.
When she’s not in the kitchen, she’s exploring new flavors and dreaming up her next recipe to share with the Foodie Hustle community.